
Halloo, time flies and less stories have been produced by me. Don’t worry, I’m now back in Finland and I have a lot detailed work sessions to show you and my photos also
Anchor windlass bed rebuilt properly

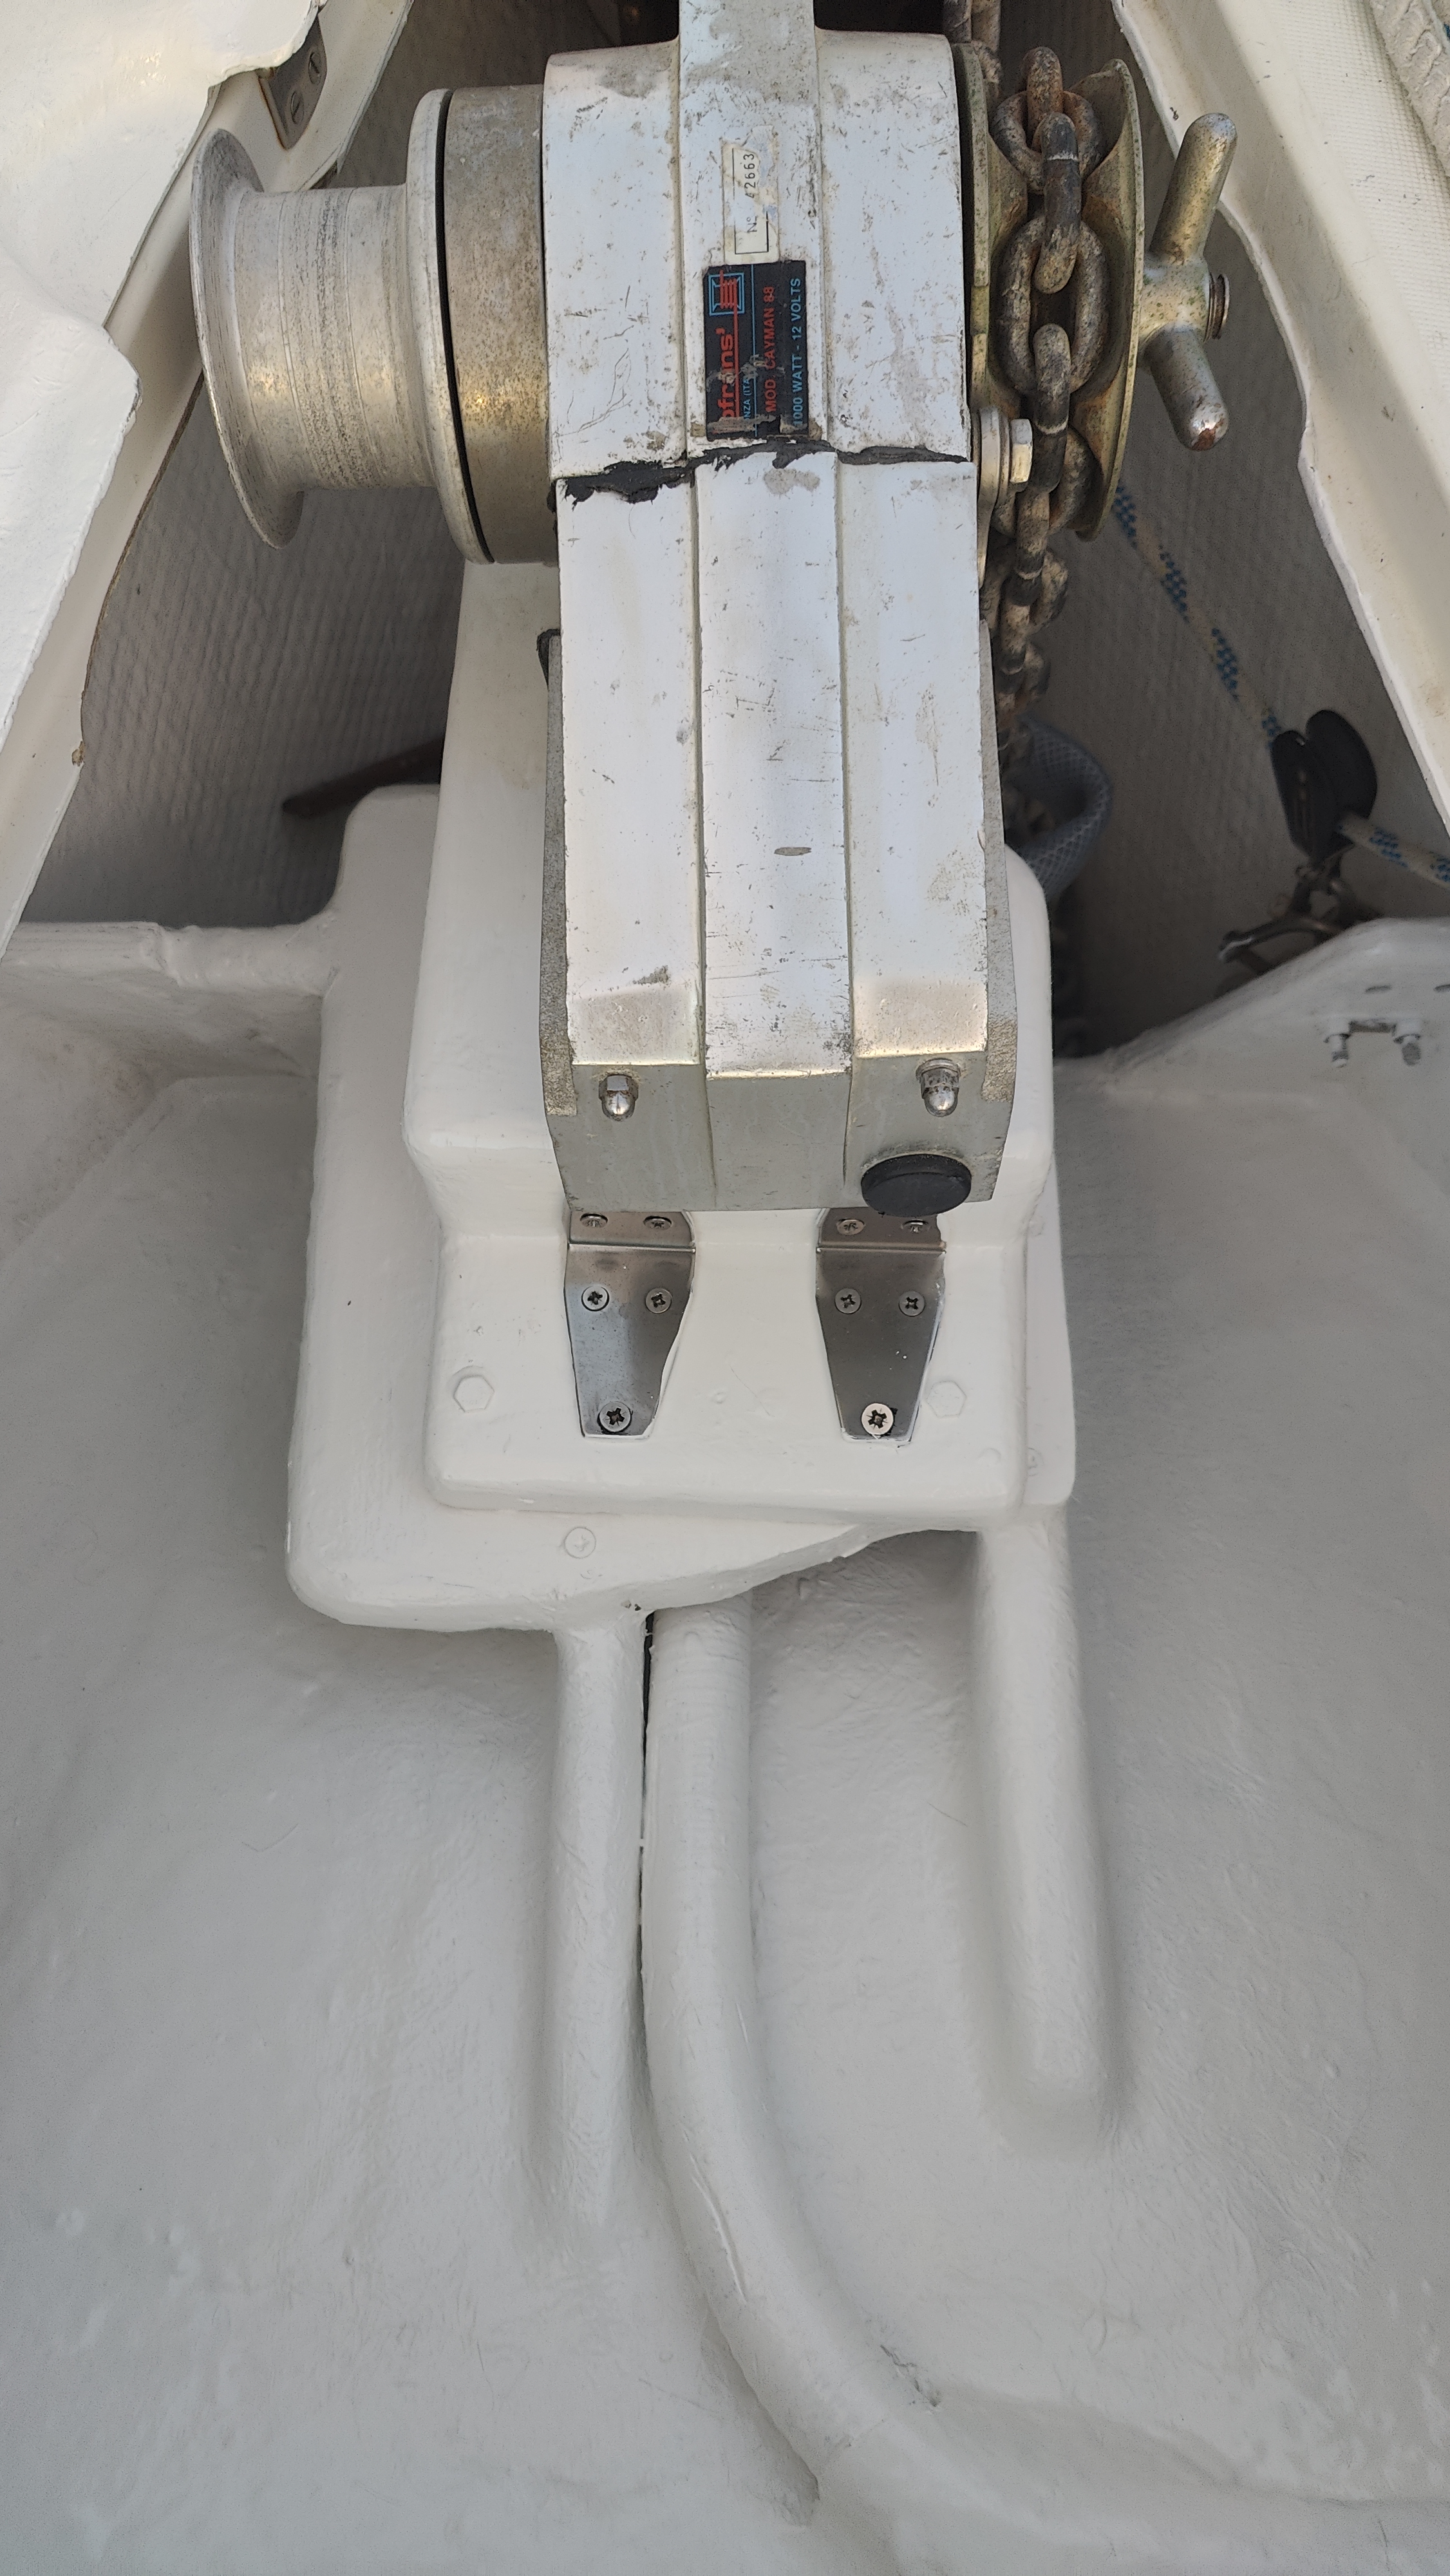
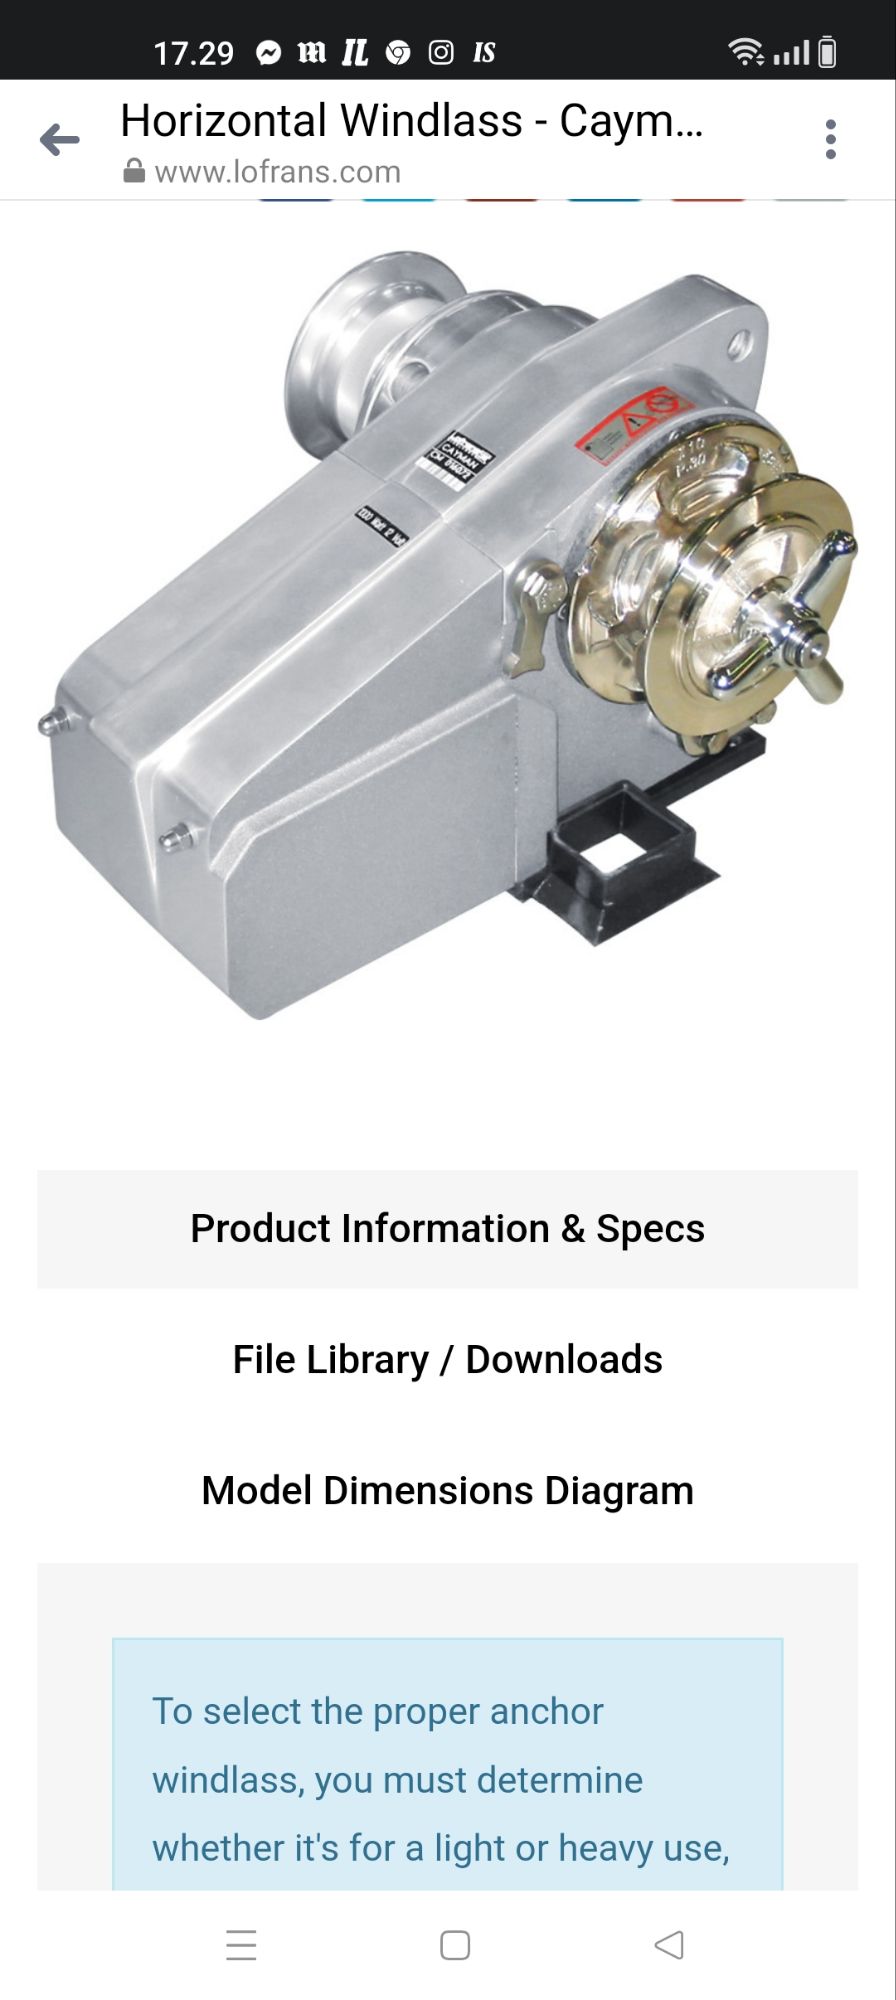
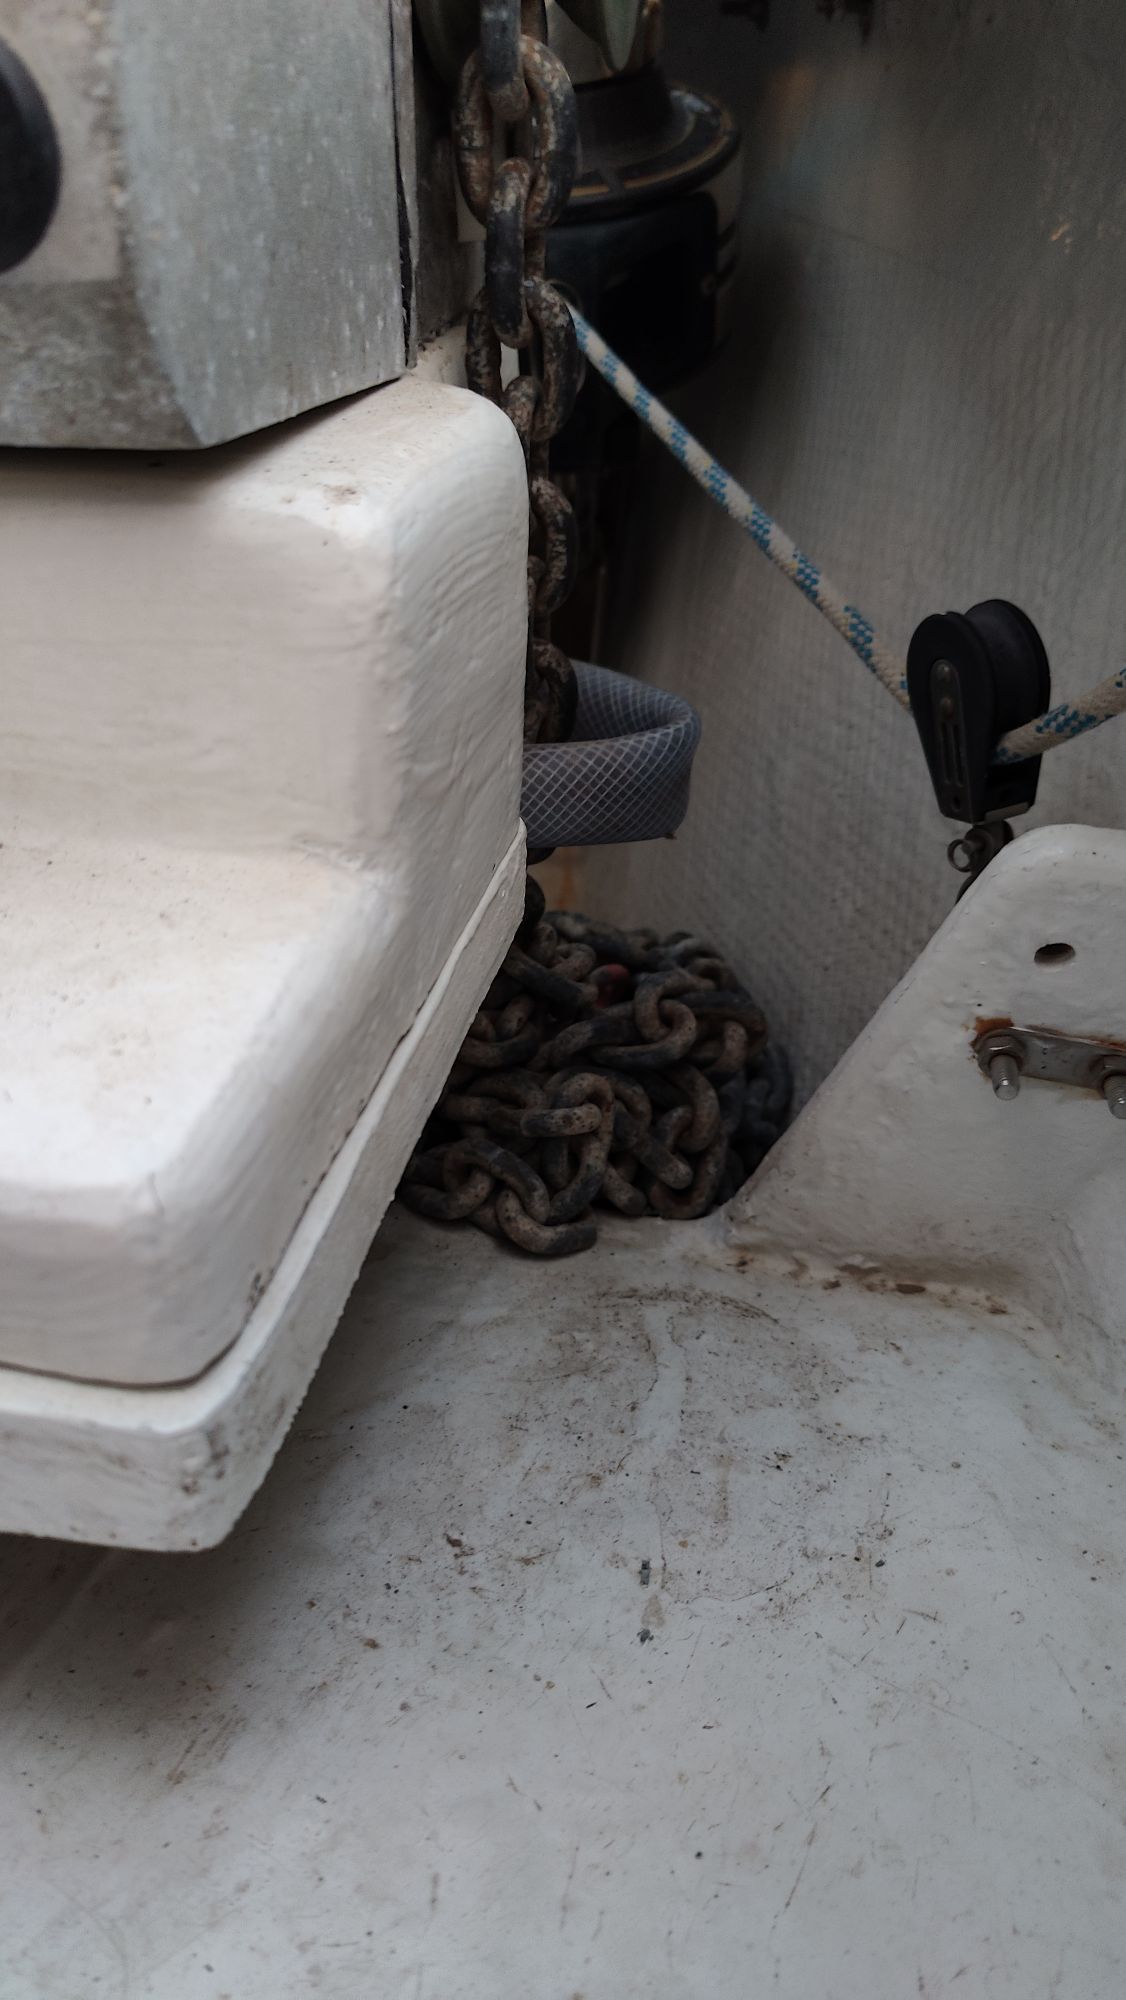
This was the beginning, looked nice but the powerful Lofran 1000 Anchor windlass was pulling itself out of the boat. The fiberglass work was very bad, under dimensioned and done without planning the loads and directions of pulling force’s
Finally after a few weeks hard work the Lofran 1000 and the bed was fastened to the bow locker and to the boat hull. Anchor locker is looking more or less the same but now stiff and firmly attached to the boat. Lofran 1000 windlass is lined up with the anchor chain and bow roller. It is moved 5 cm backwards and the angle to the bow roller is a straight line. This is easy to say but a lot of planning and working in a very narrow space is done
photo´s and how to do the anchor windlass bed
Planning – finding out the way – action in a very small place
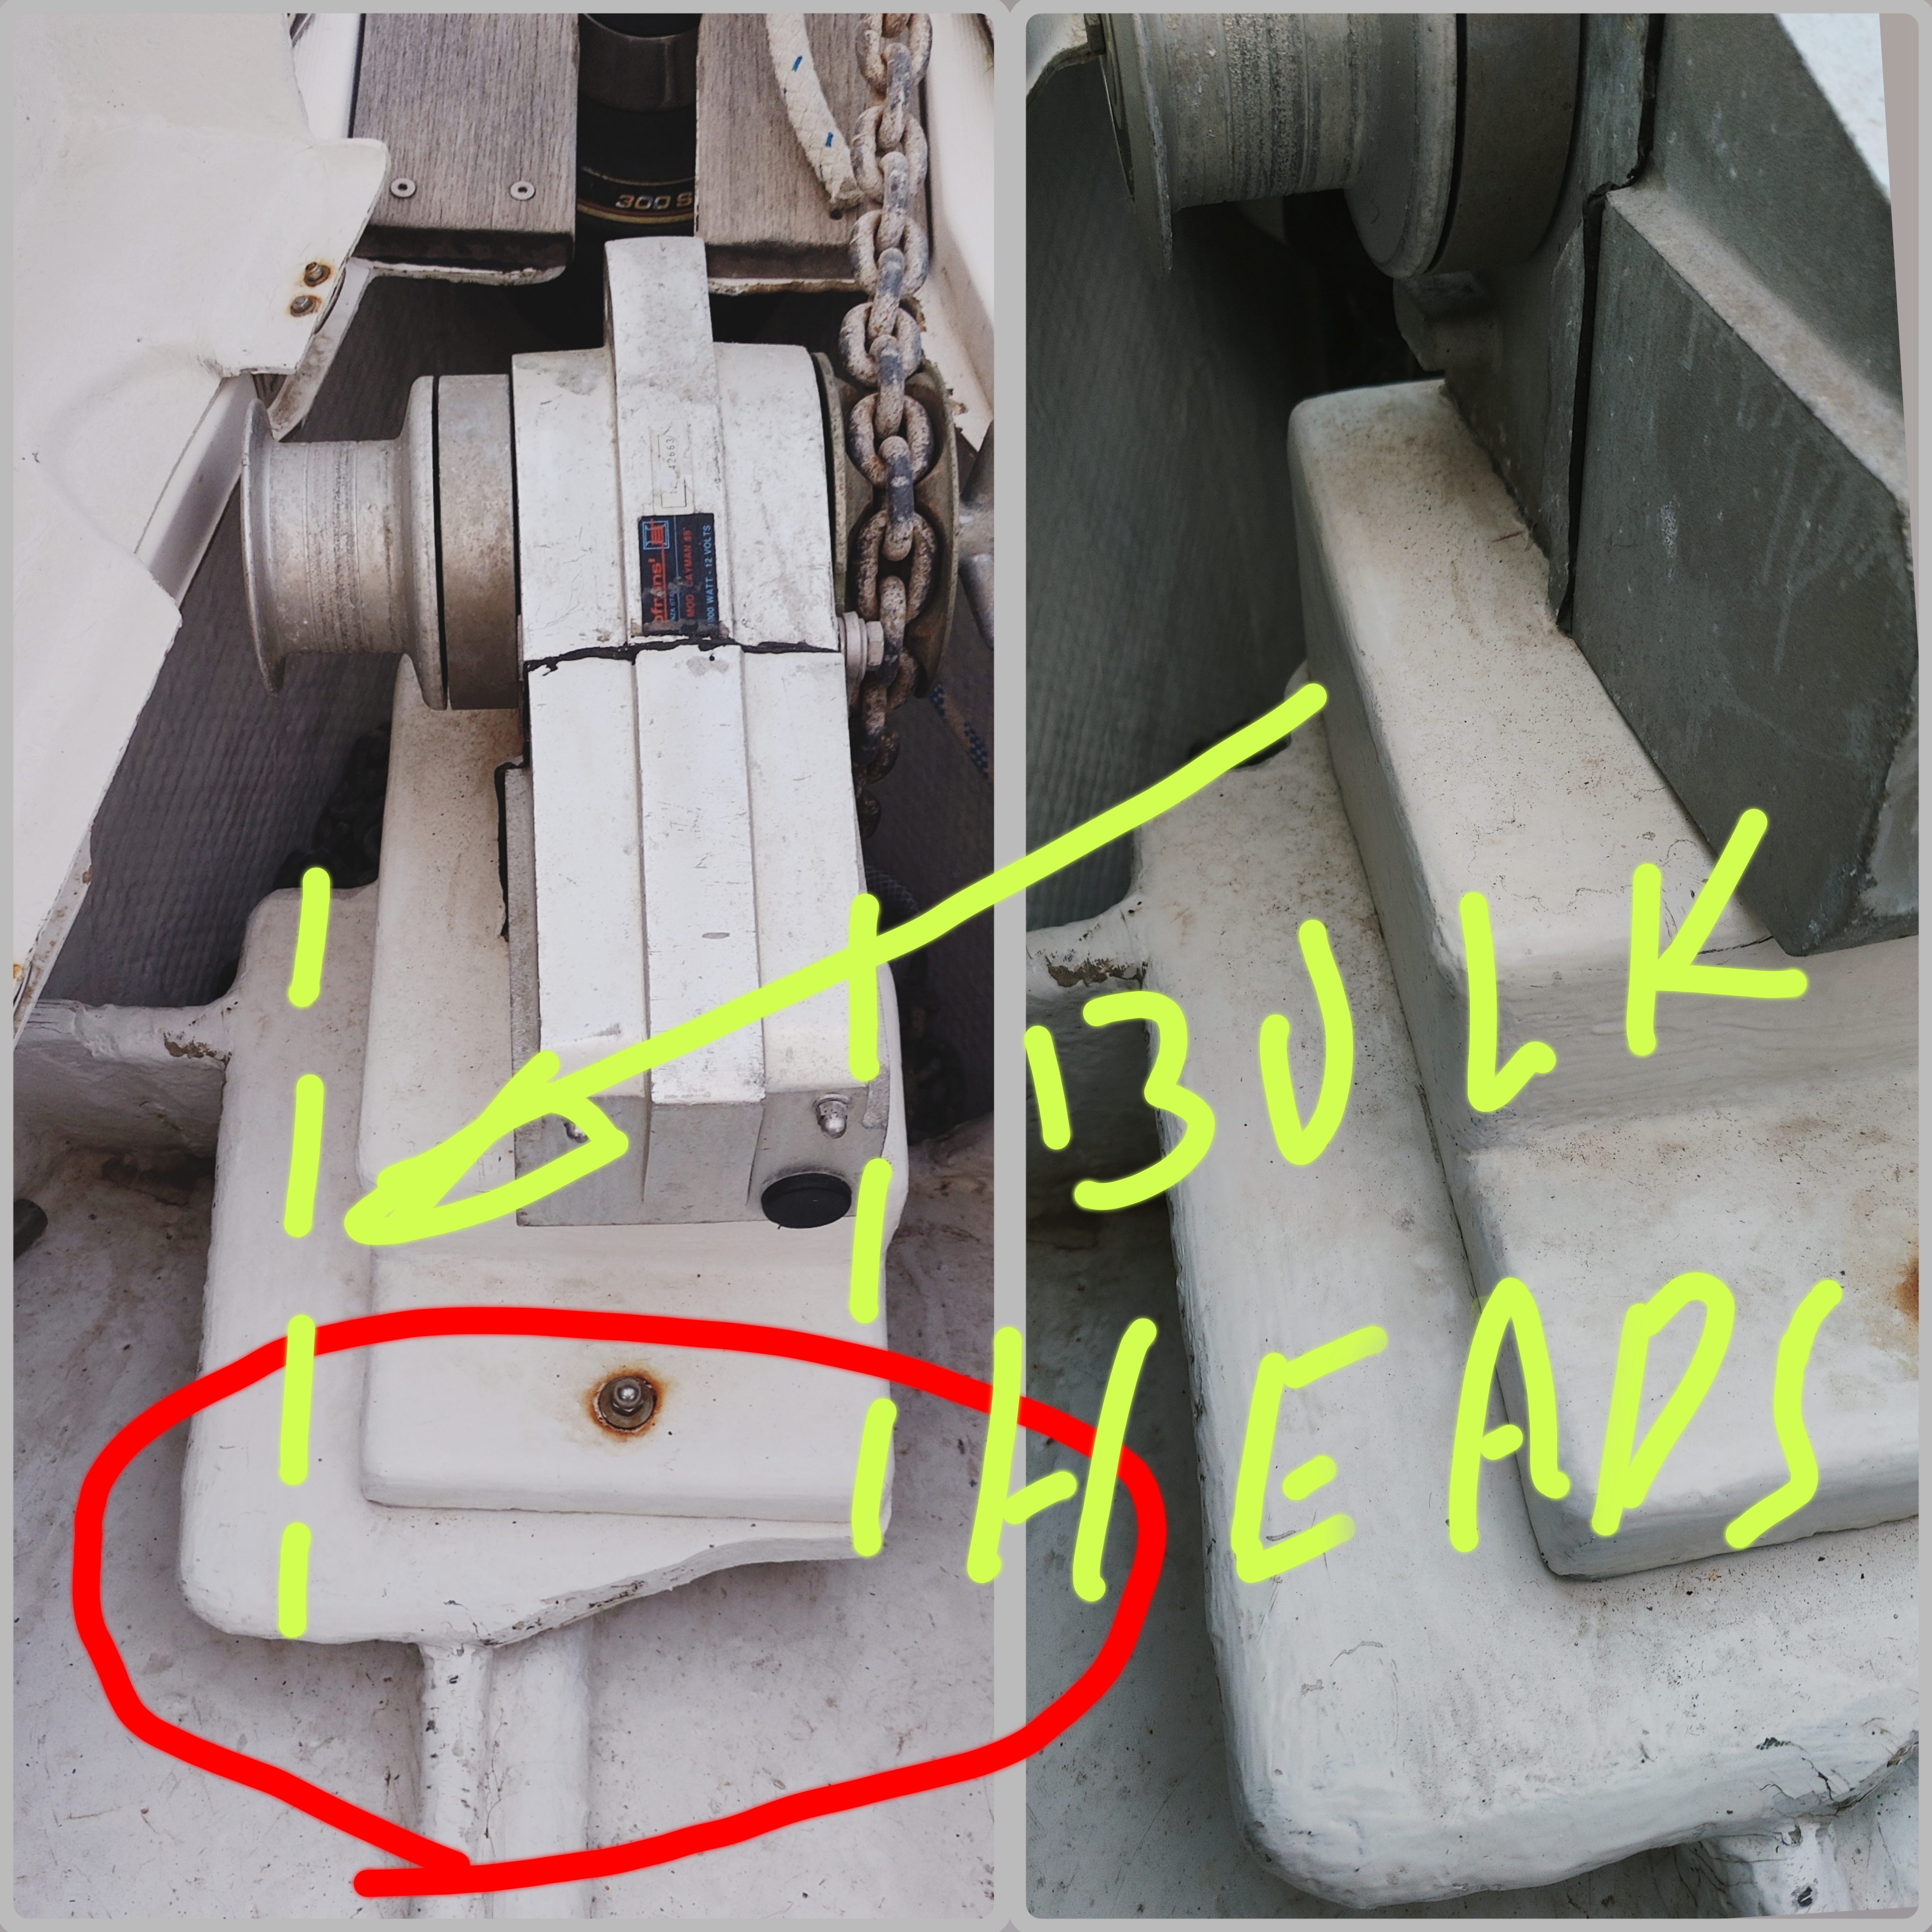


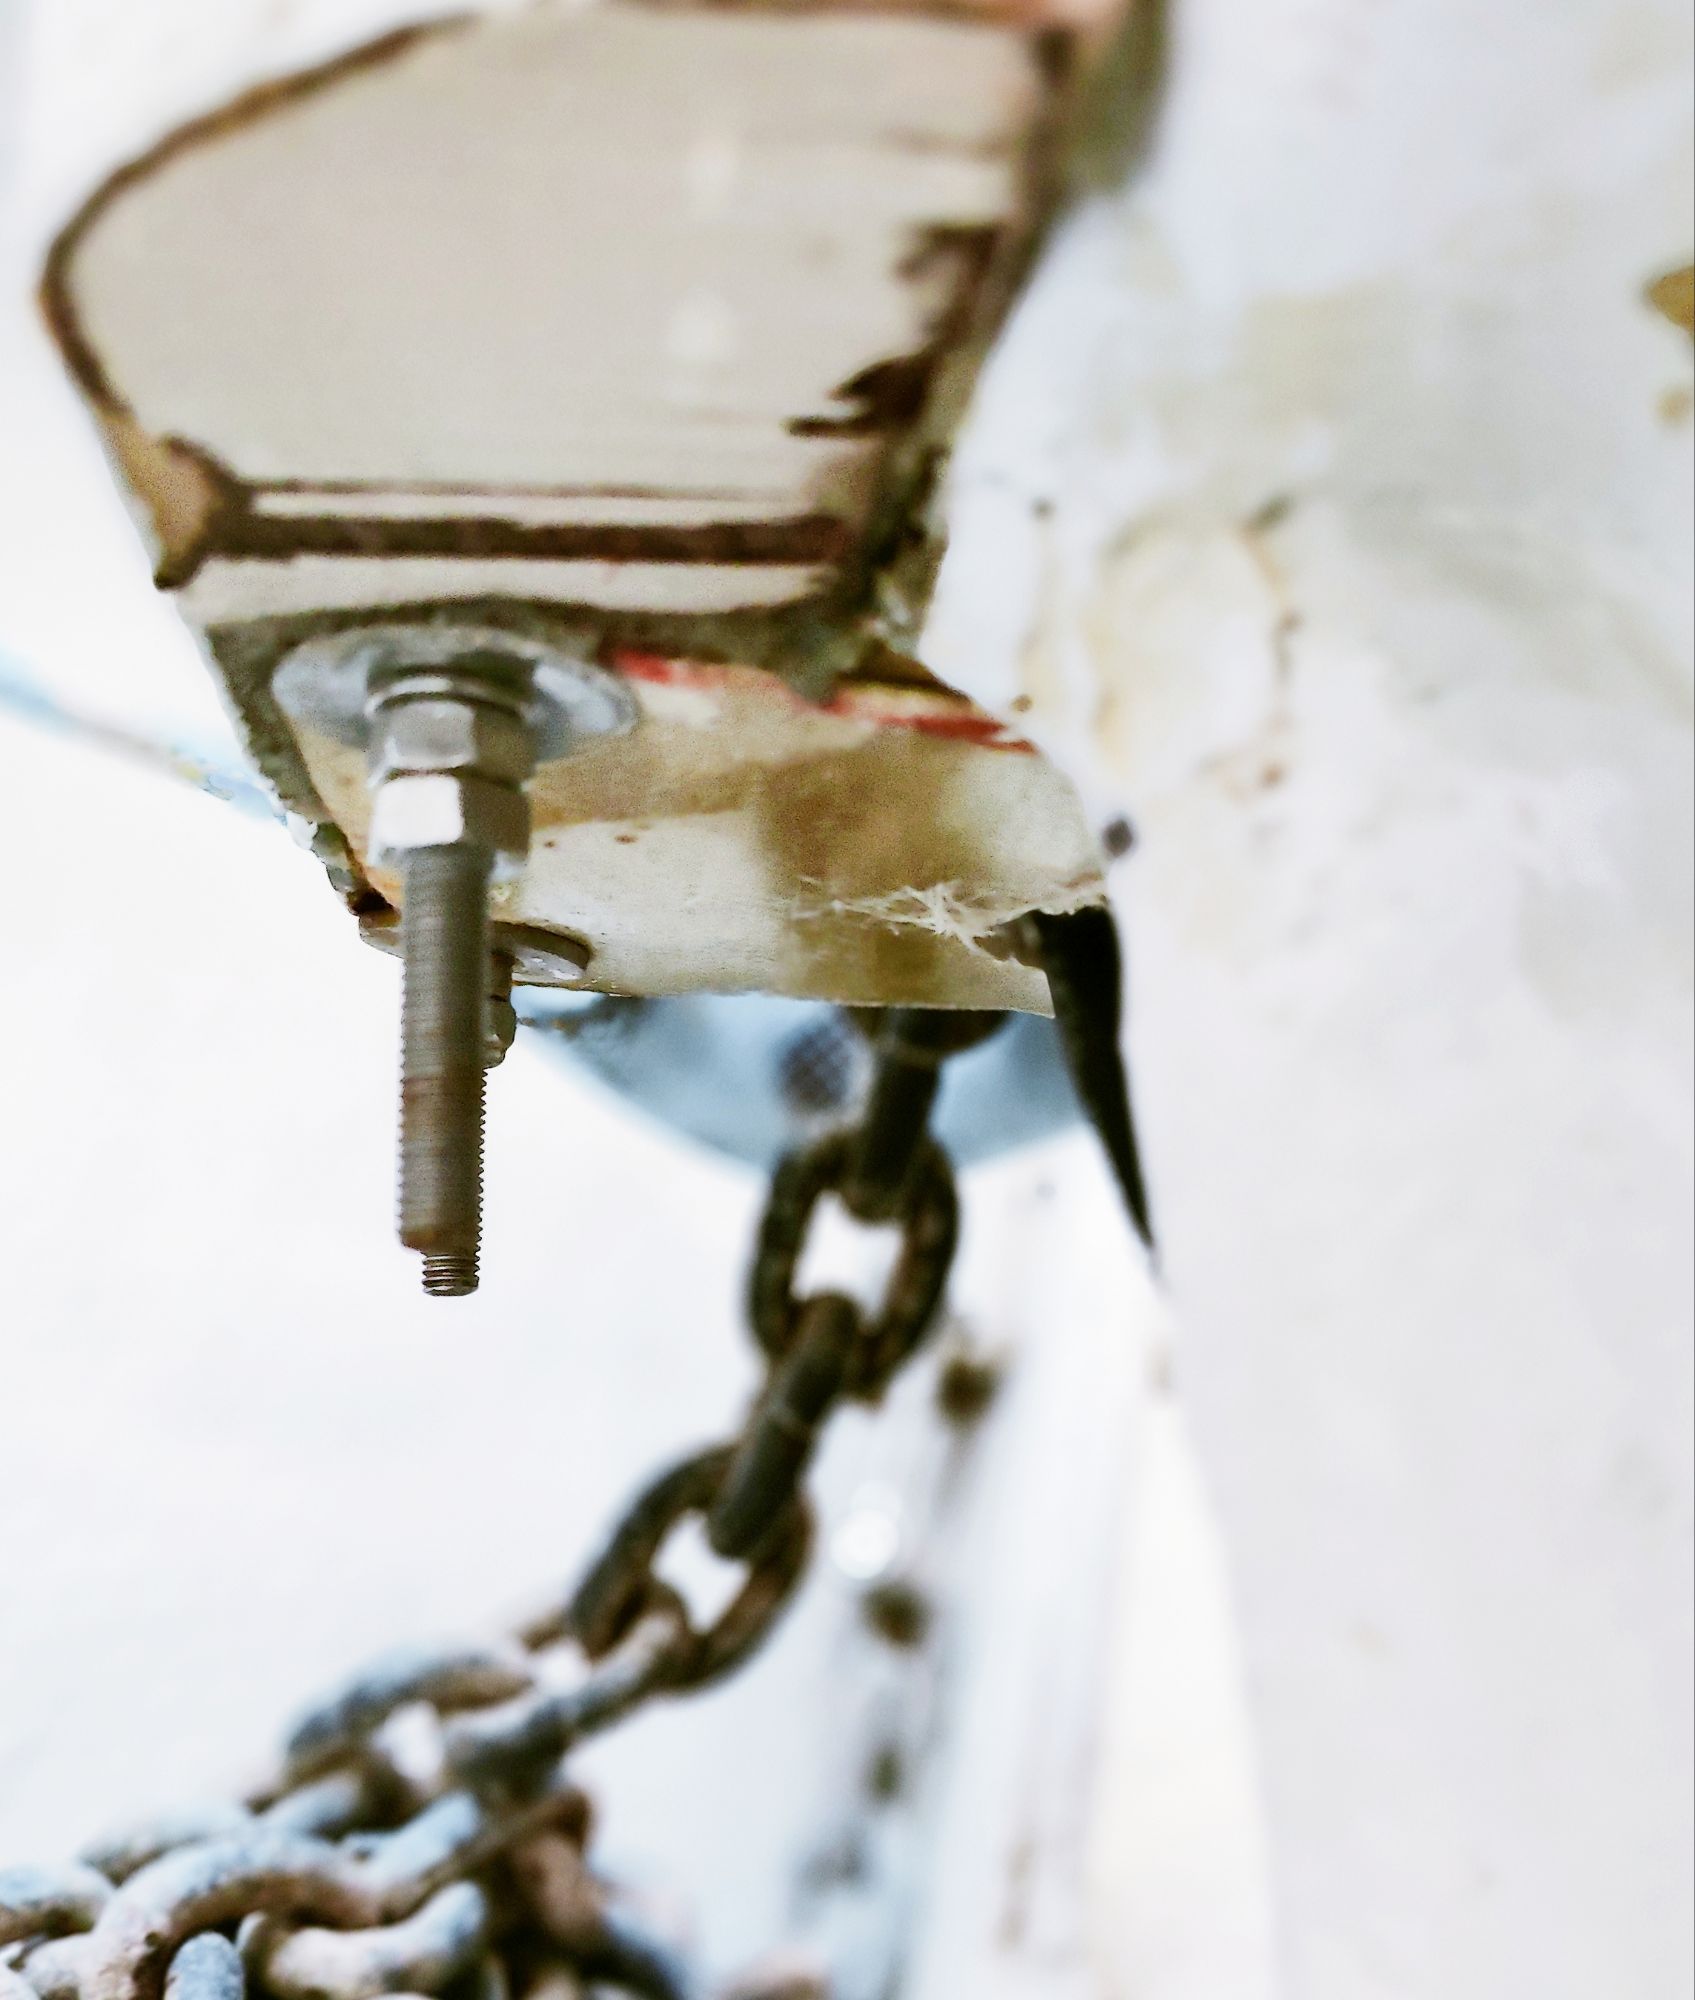


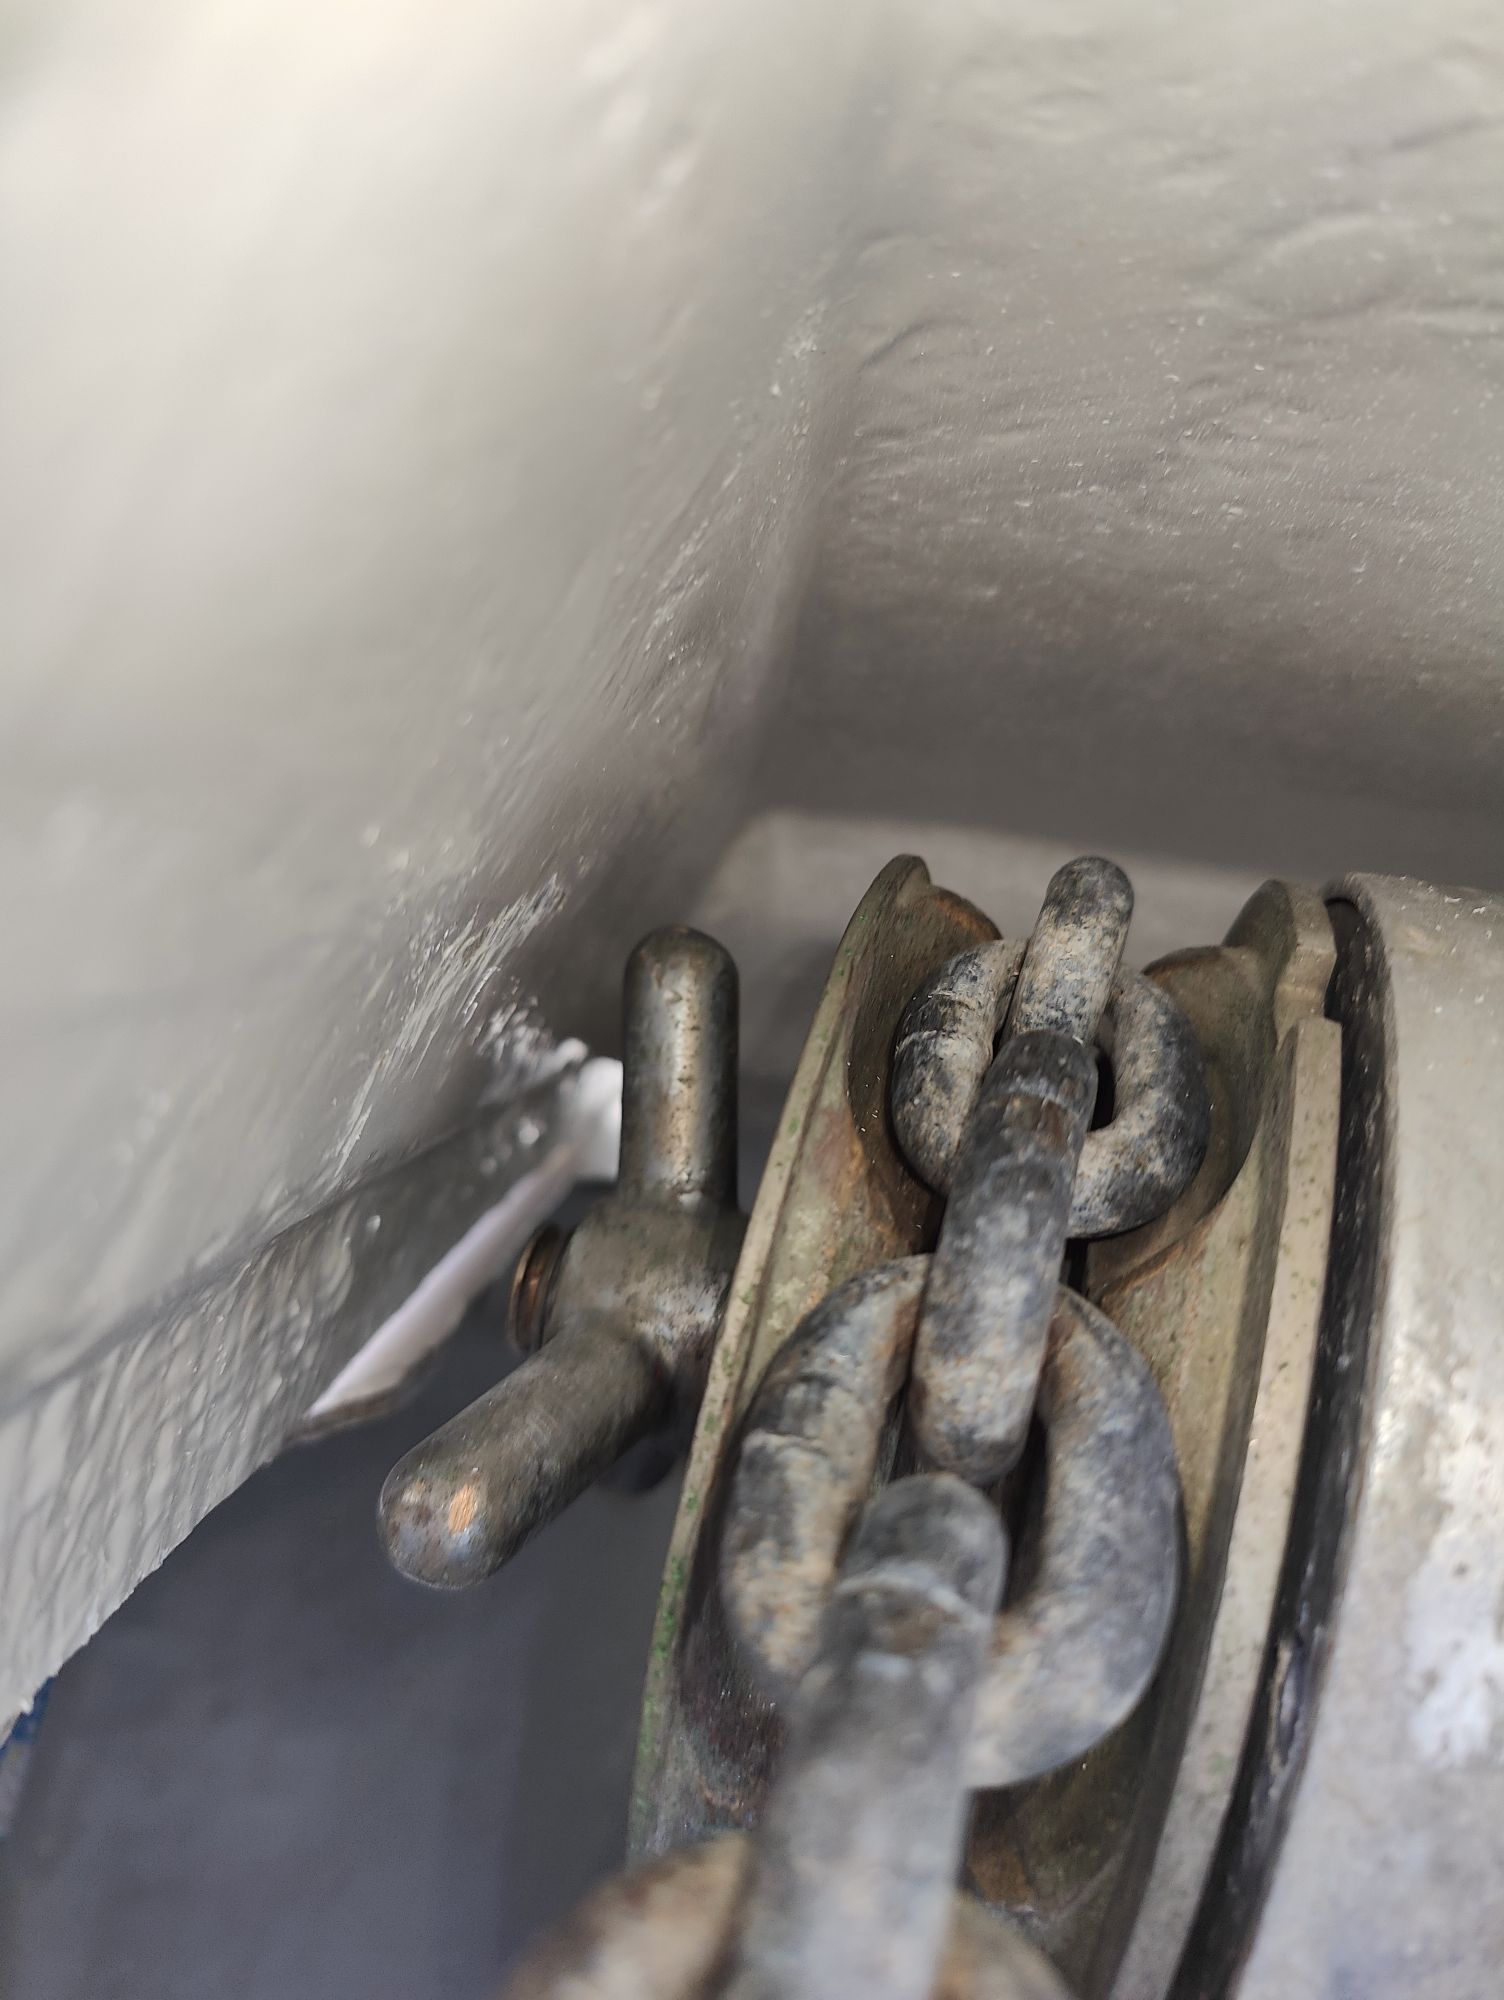
Planning how to support Windlass bed with two longitudinal bulkheads attached to the anchor box bottom and both sides of the boat. First we had to take photographs of the bolts mounted underneath the Windlass bed. Second is to figure how we open these bolts. We of course attach an anchor chain stopper to the deck in order to keep the anchor and the chain aboard.

The Lofran windlass is now loose and hoisted with a rope. We start to make a second bulkhead out of laminated plywood. The windlass is straightened so that the bottom of the windlass can be bolted with six bolts and several long screws to the longitudinal bulkheads
Laminating the fiberglass – plywood composite bulkheads to the anchor box bottom
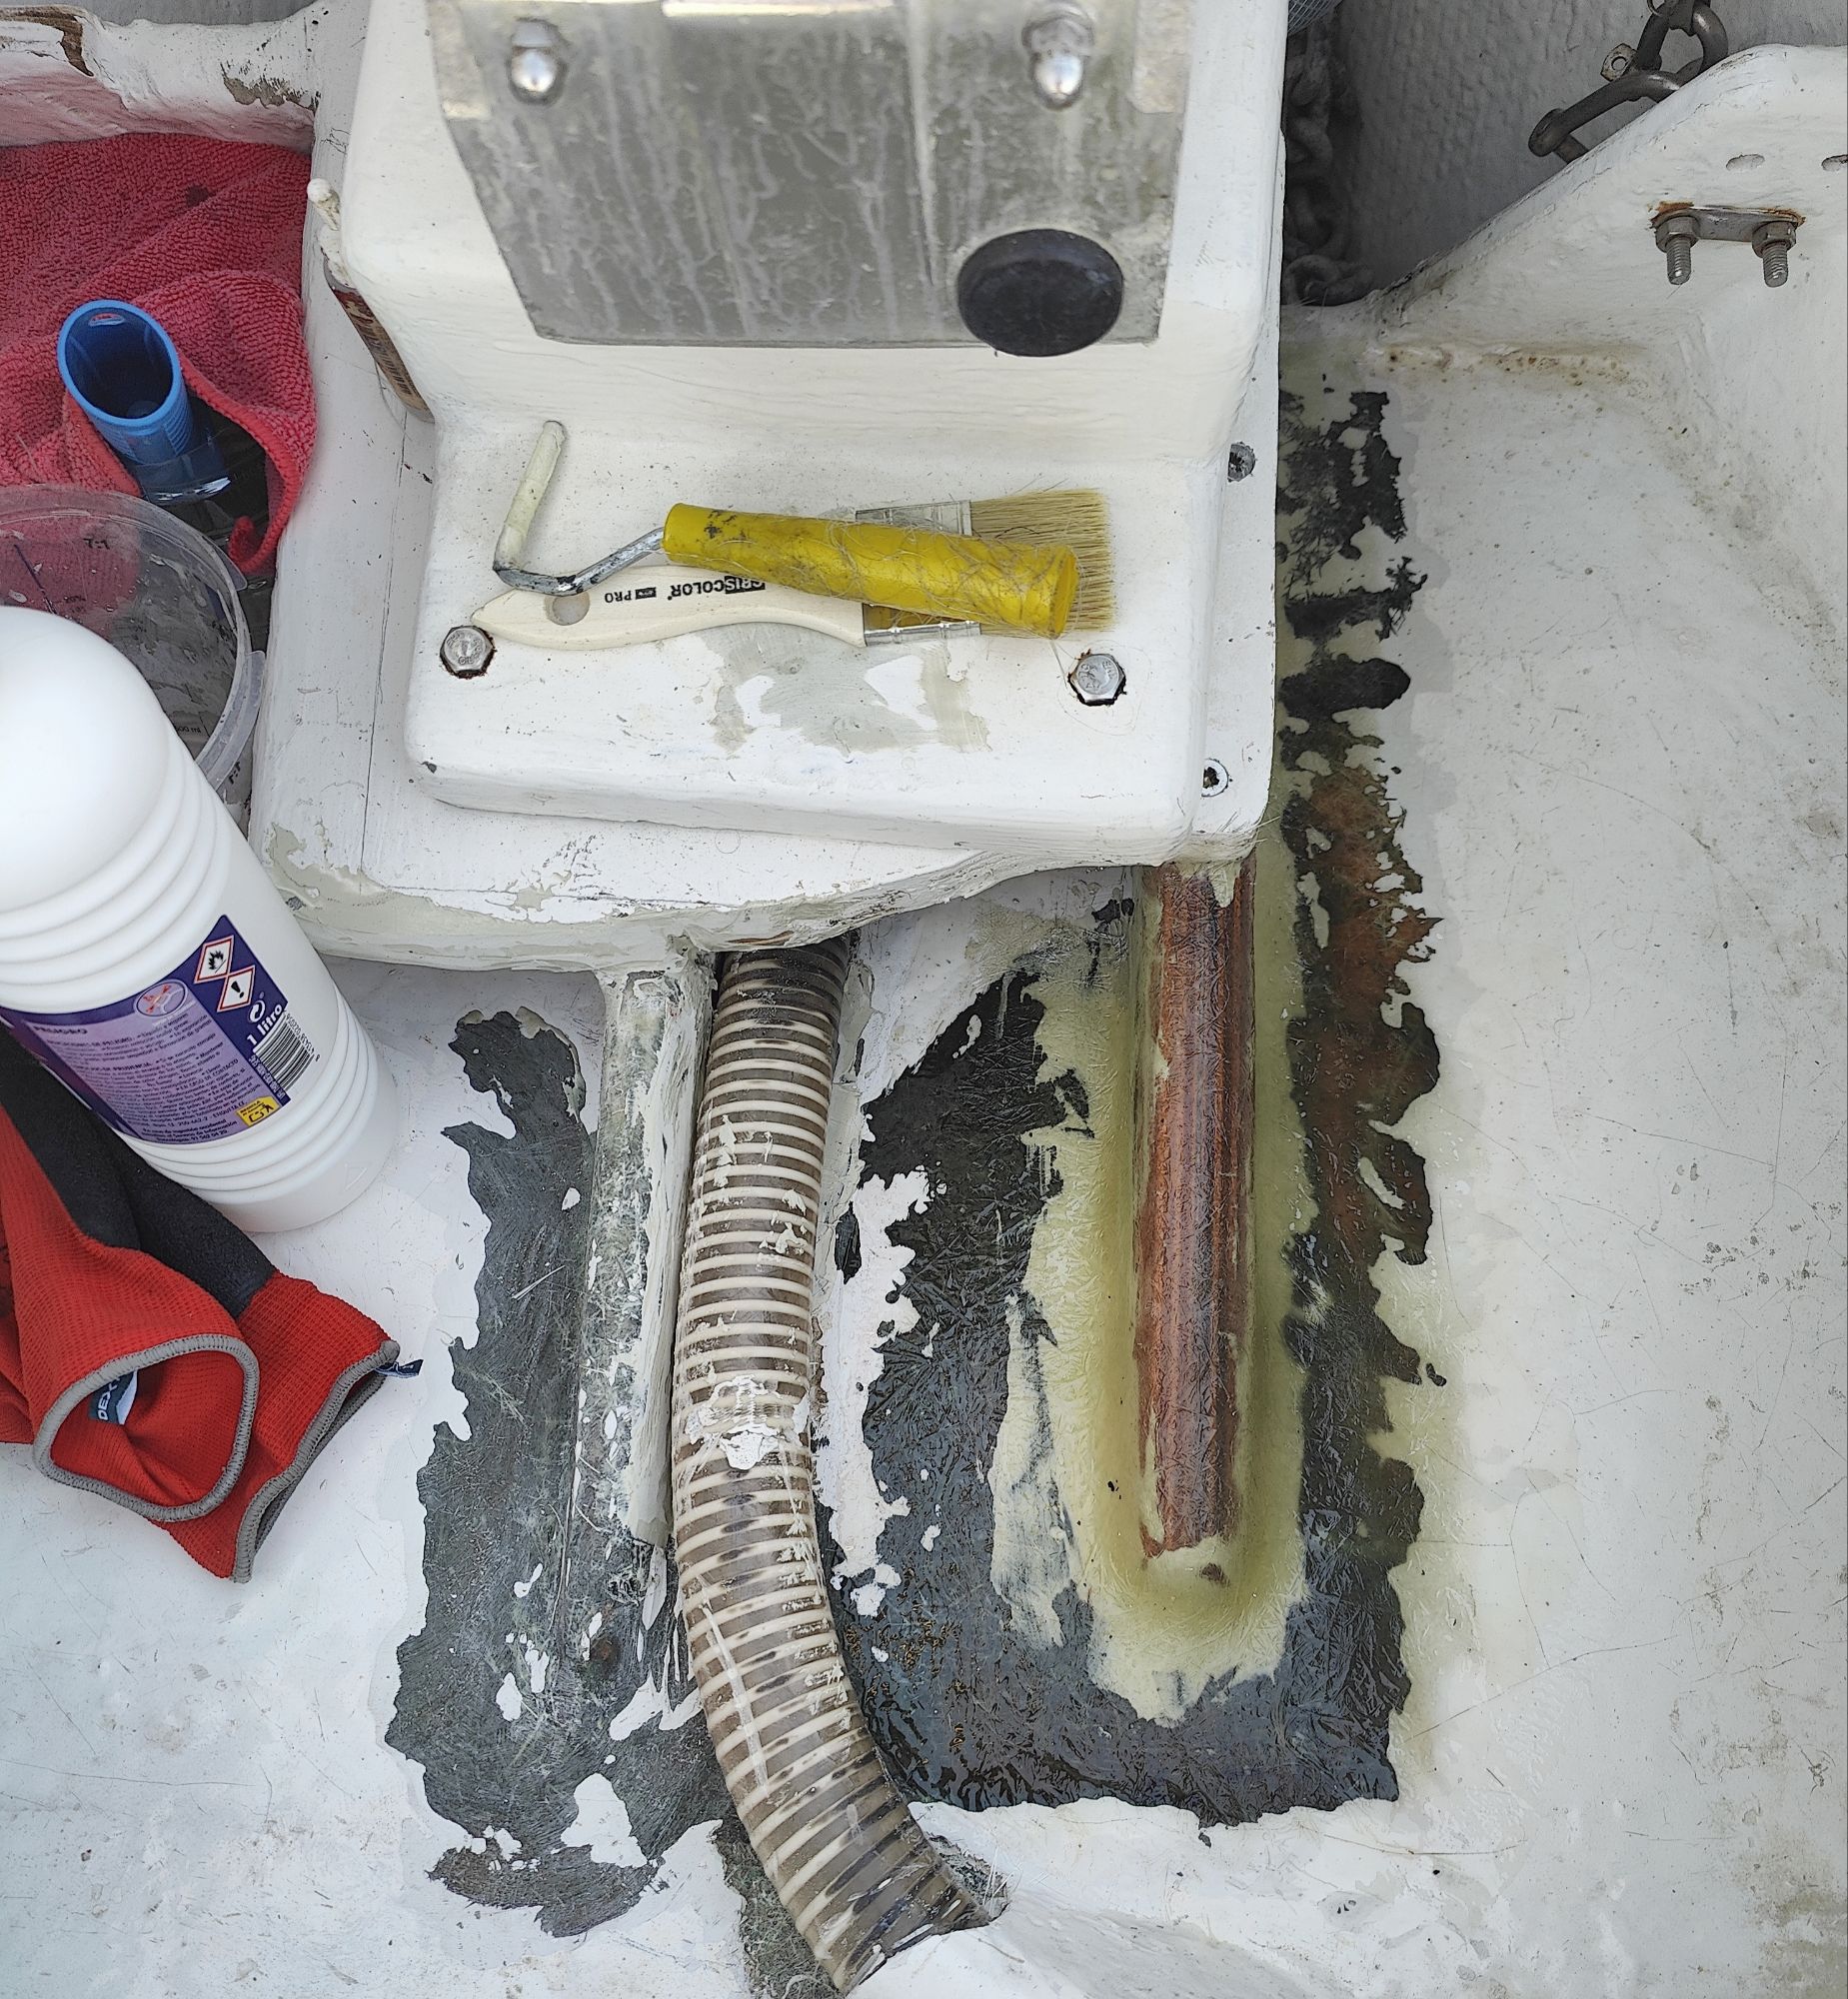
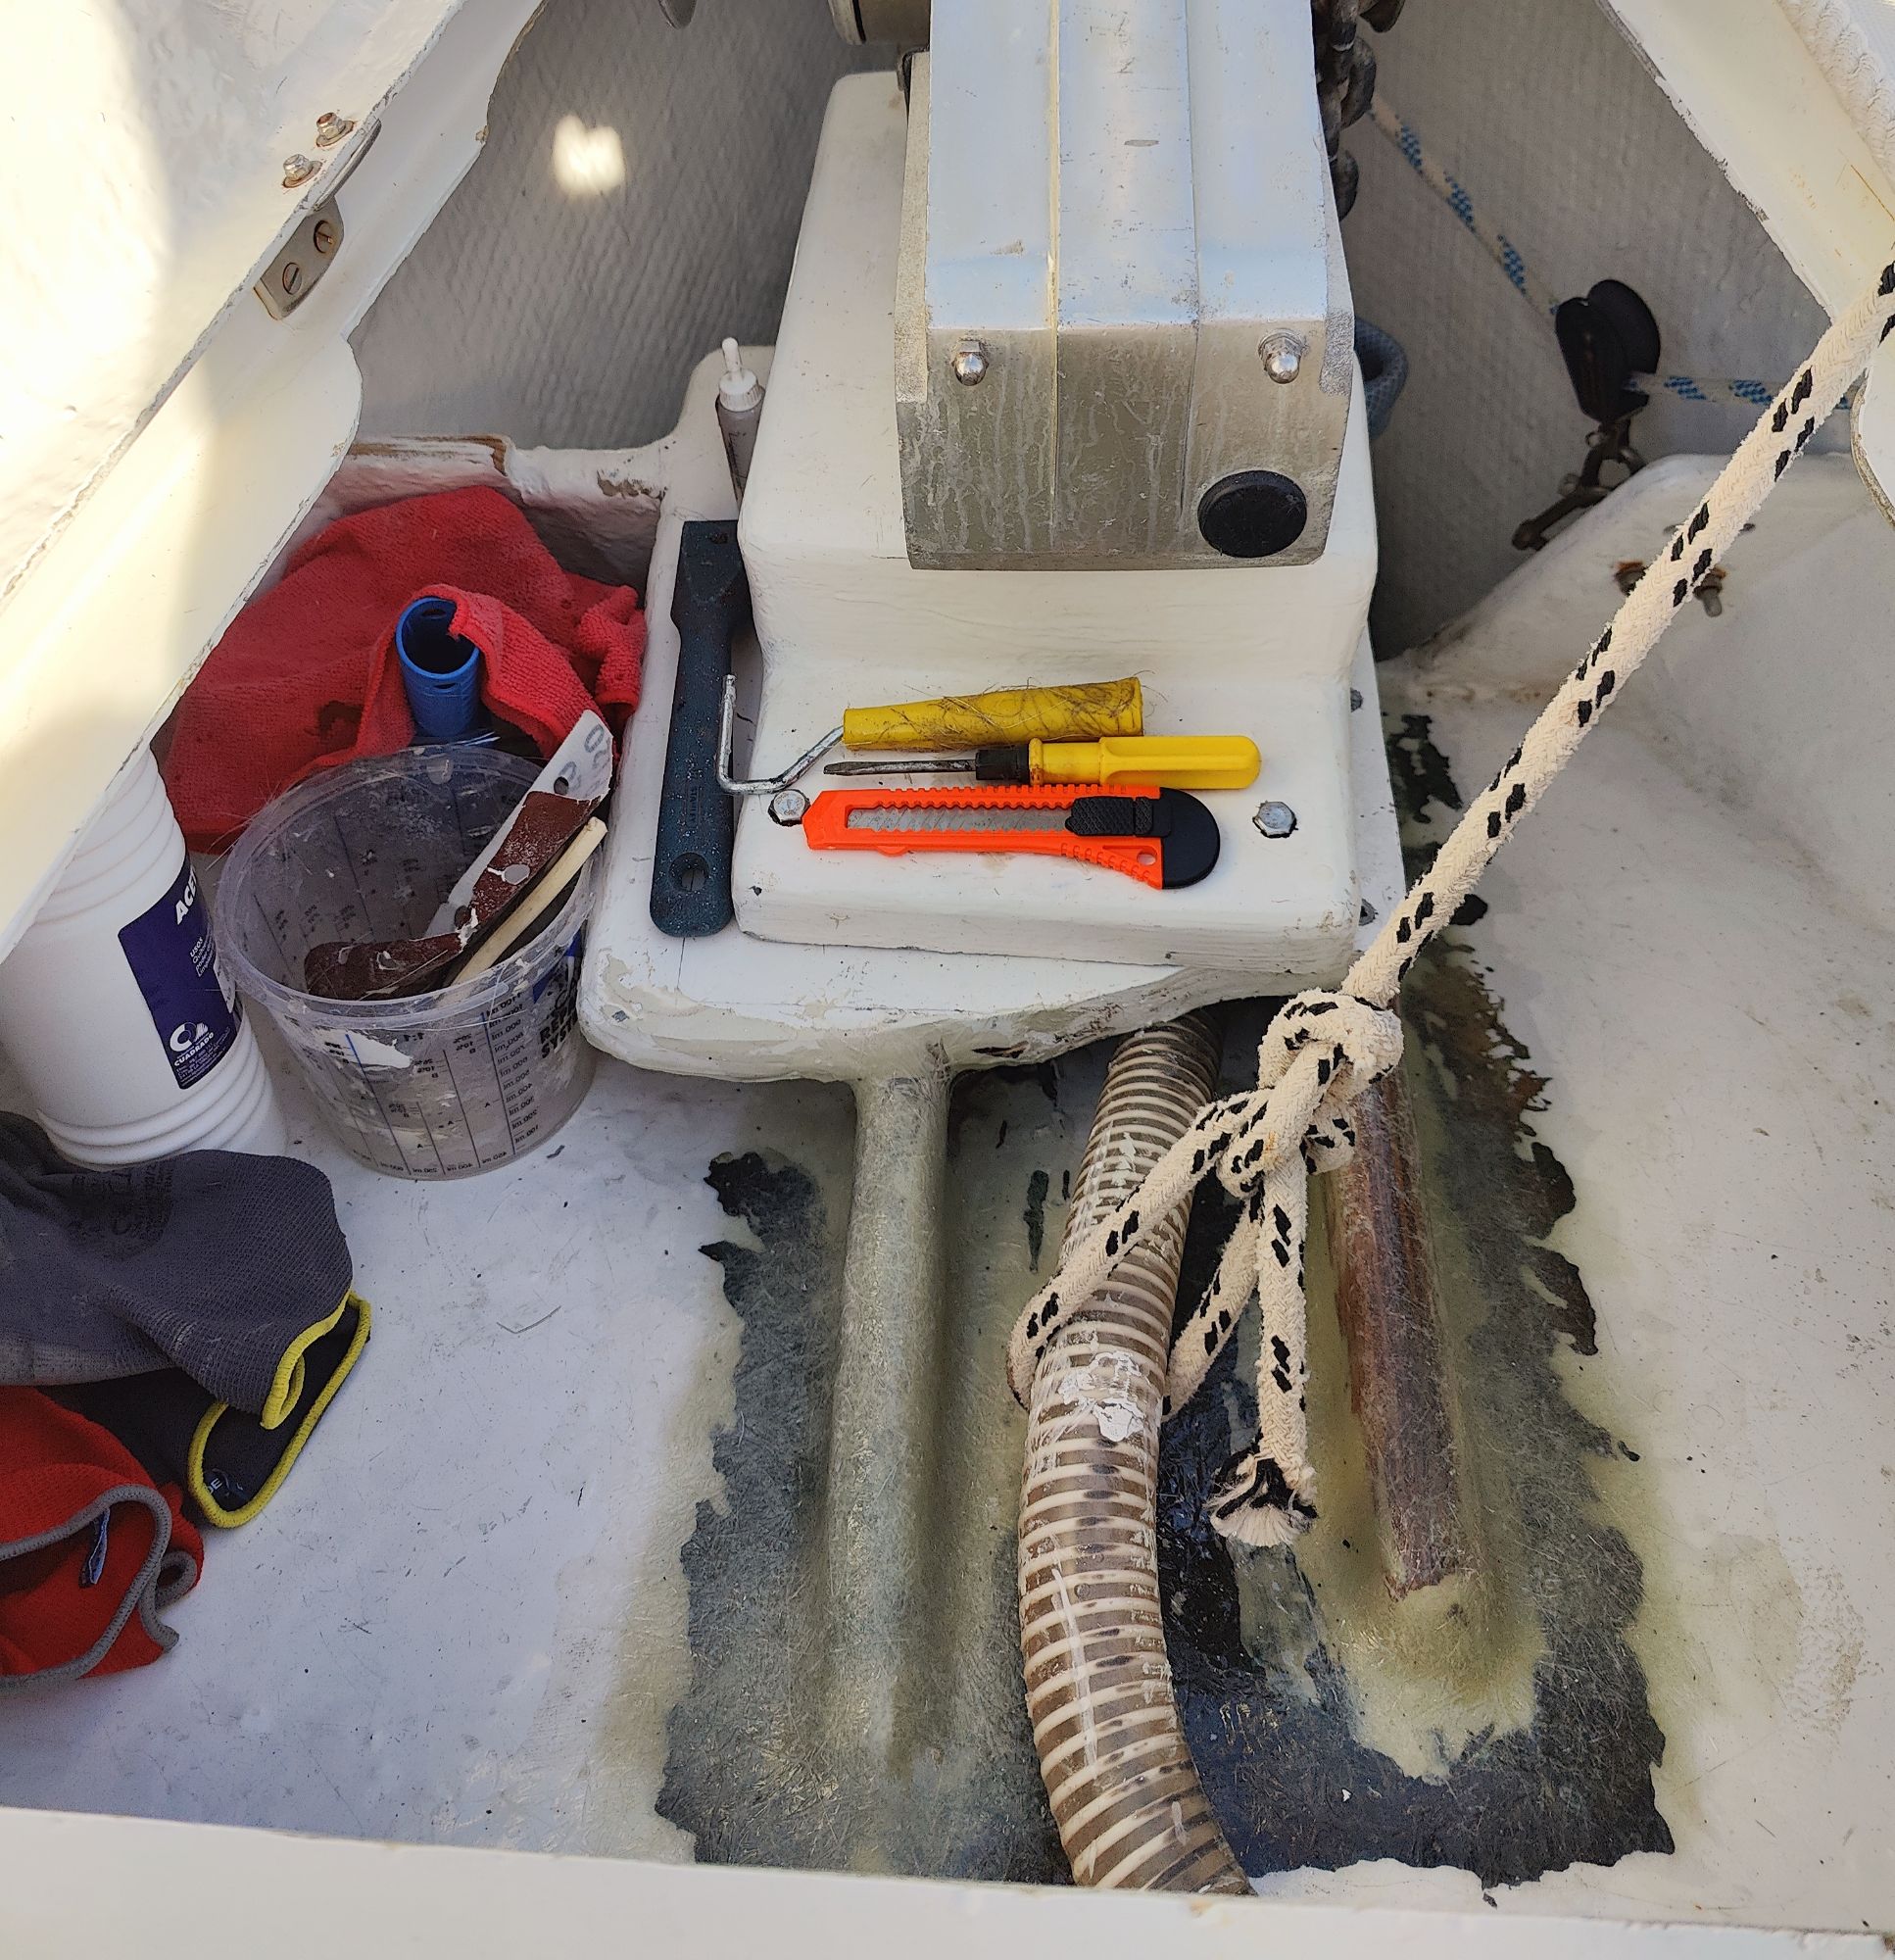


The bottom of the anchor locker must be grinded all the way to fiberglass. The new bulkhead on the right is glued with epoxy both to the windlass bottom and the anchor box bottom. We move the pipe sheltering electric cables several times in order to save the electric cables. Two inox angle irons are mounted with big screws to secure the aft of the joint. There is also a fiberglass elbow in the front end to prevent anchor bed nodding downwards
The job is done – Lofran 1000 windlass is mounted properly

Also the position is raised from the old. The windlass is situated higher to avoid salt water corrosion. The locker lid is modified on port side in order to fit the windlass rope wheel. Here you see also the elbow that prevents the nose to dip downwards when pulling the anchor up. The small longitudinal bulkheads are glued to the bottom of anchor box with epoxy putty, that also gives the laminate a round form


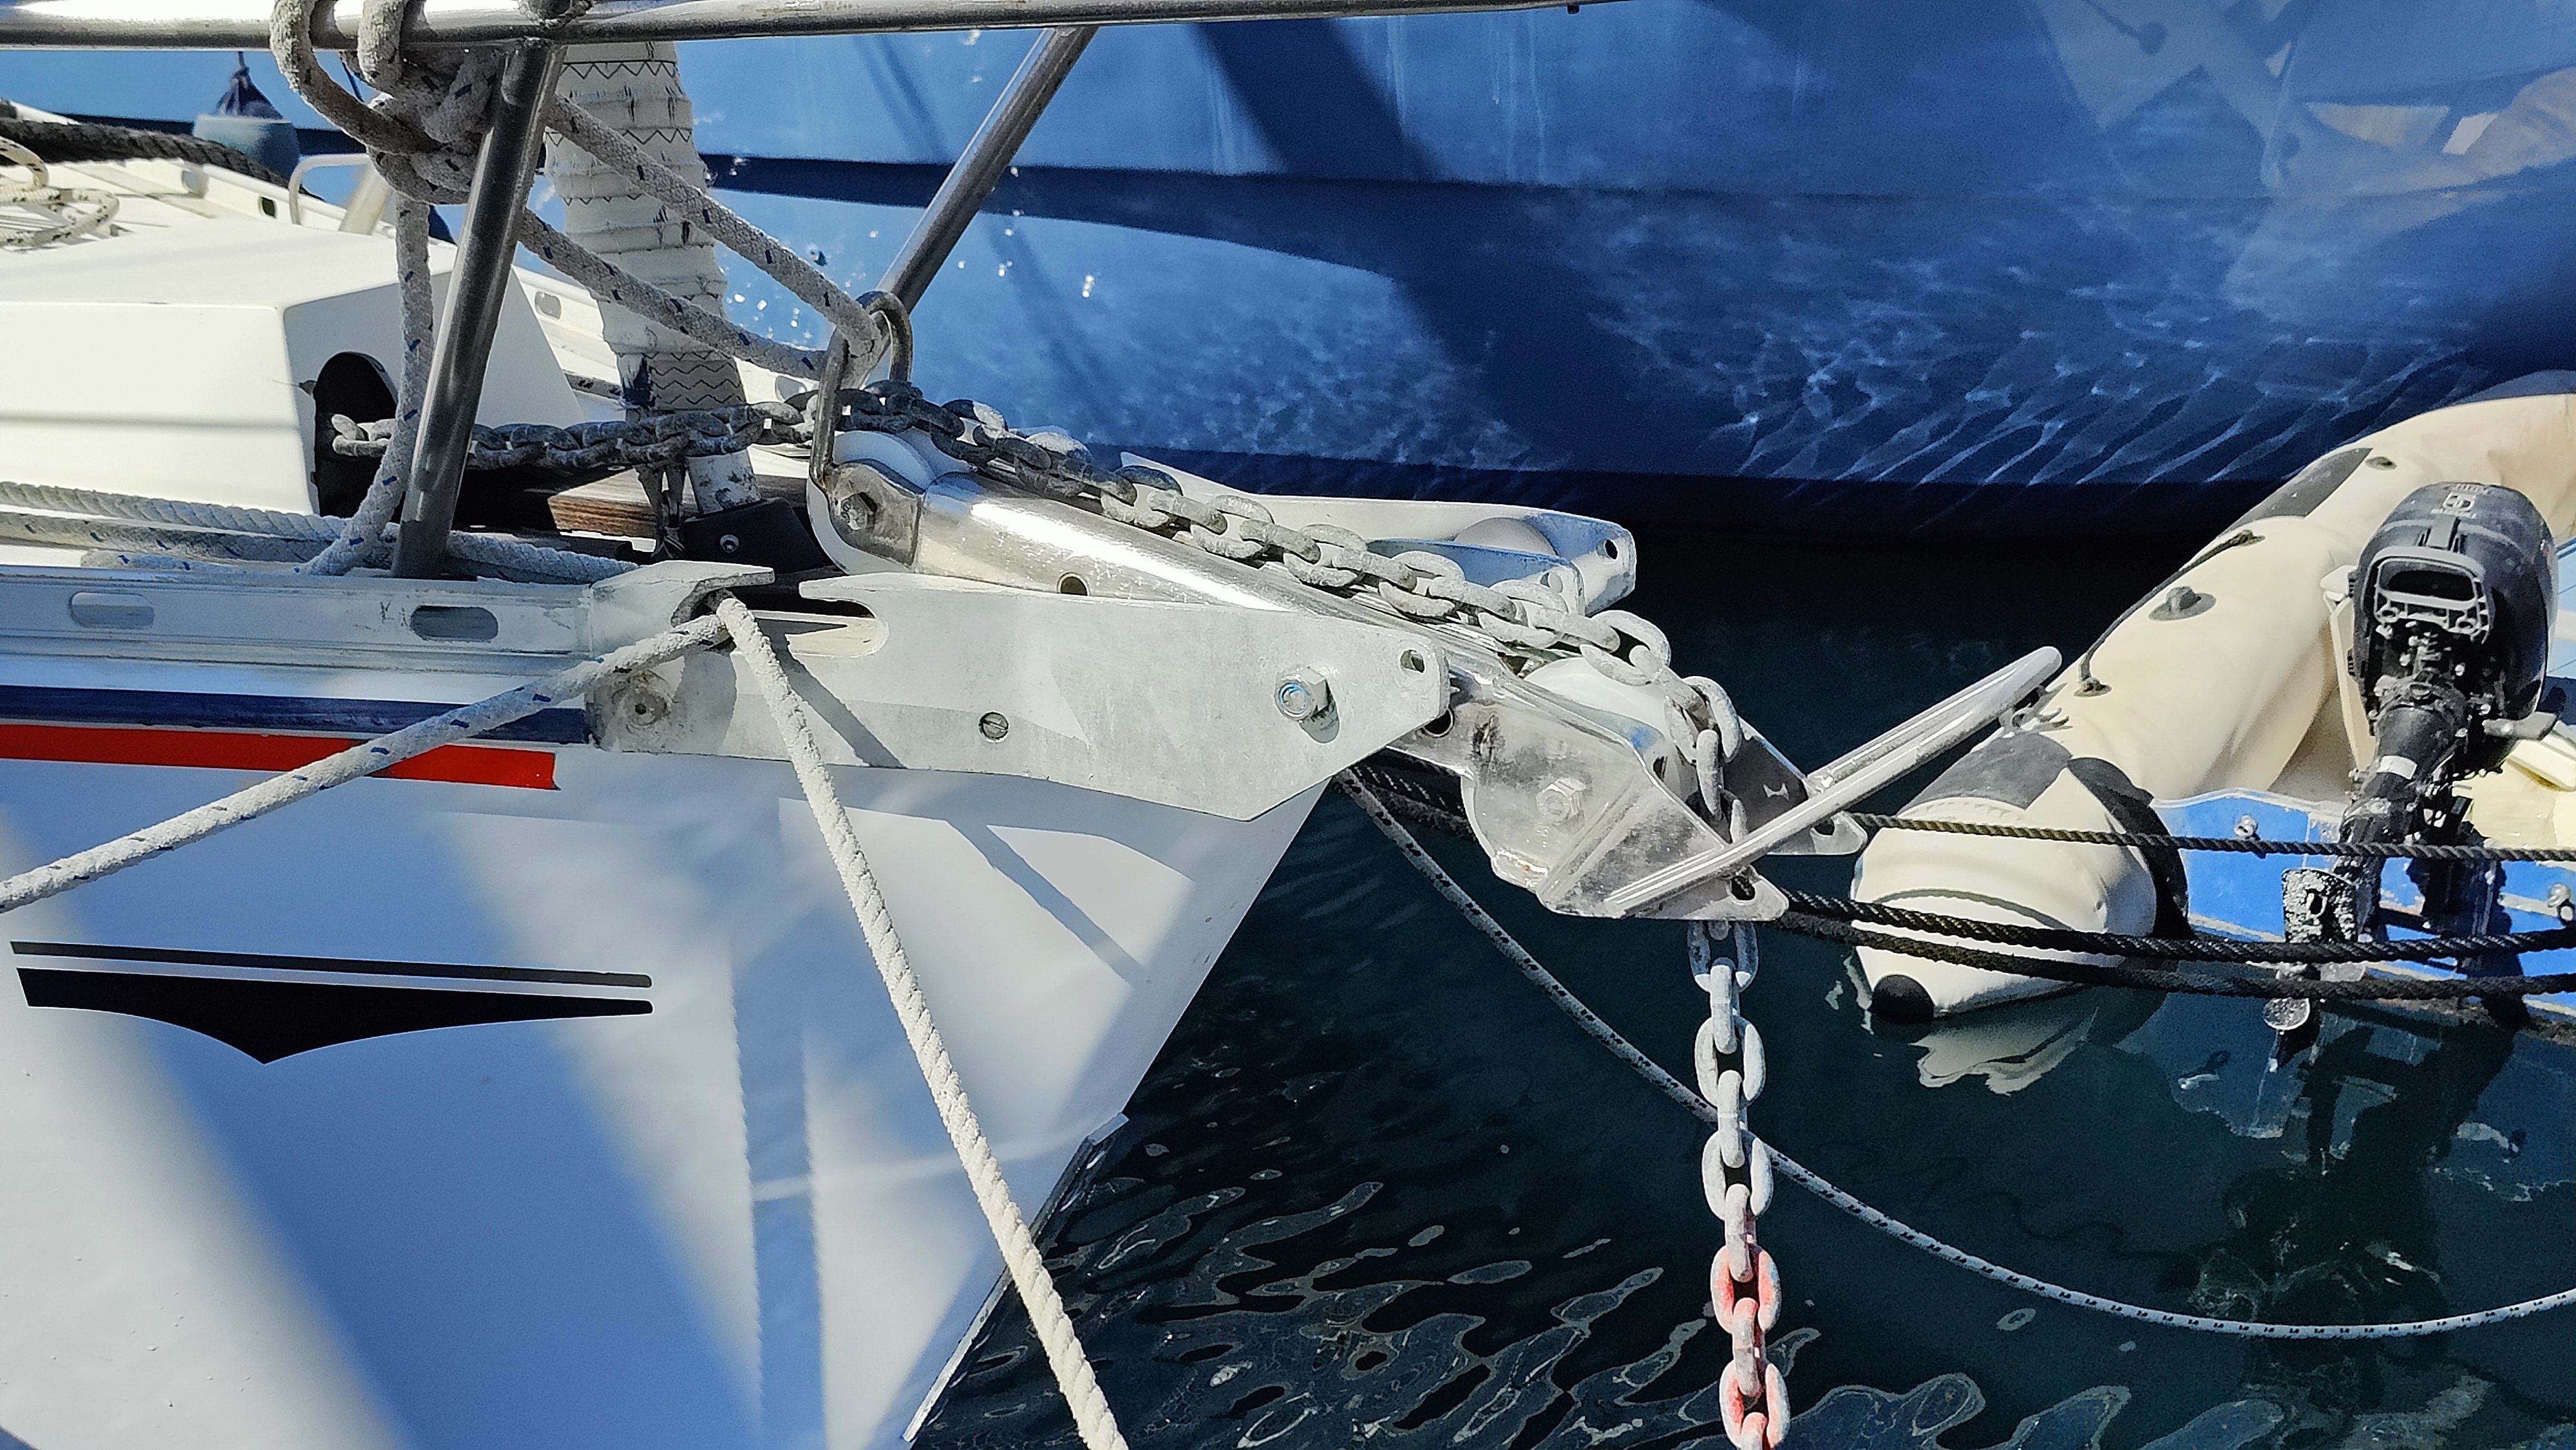
CQR anchor service after many years of usage

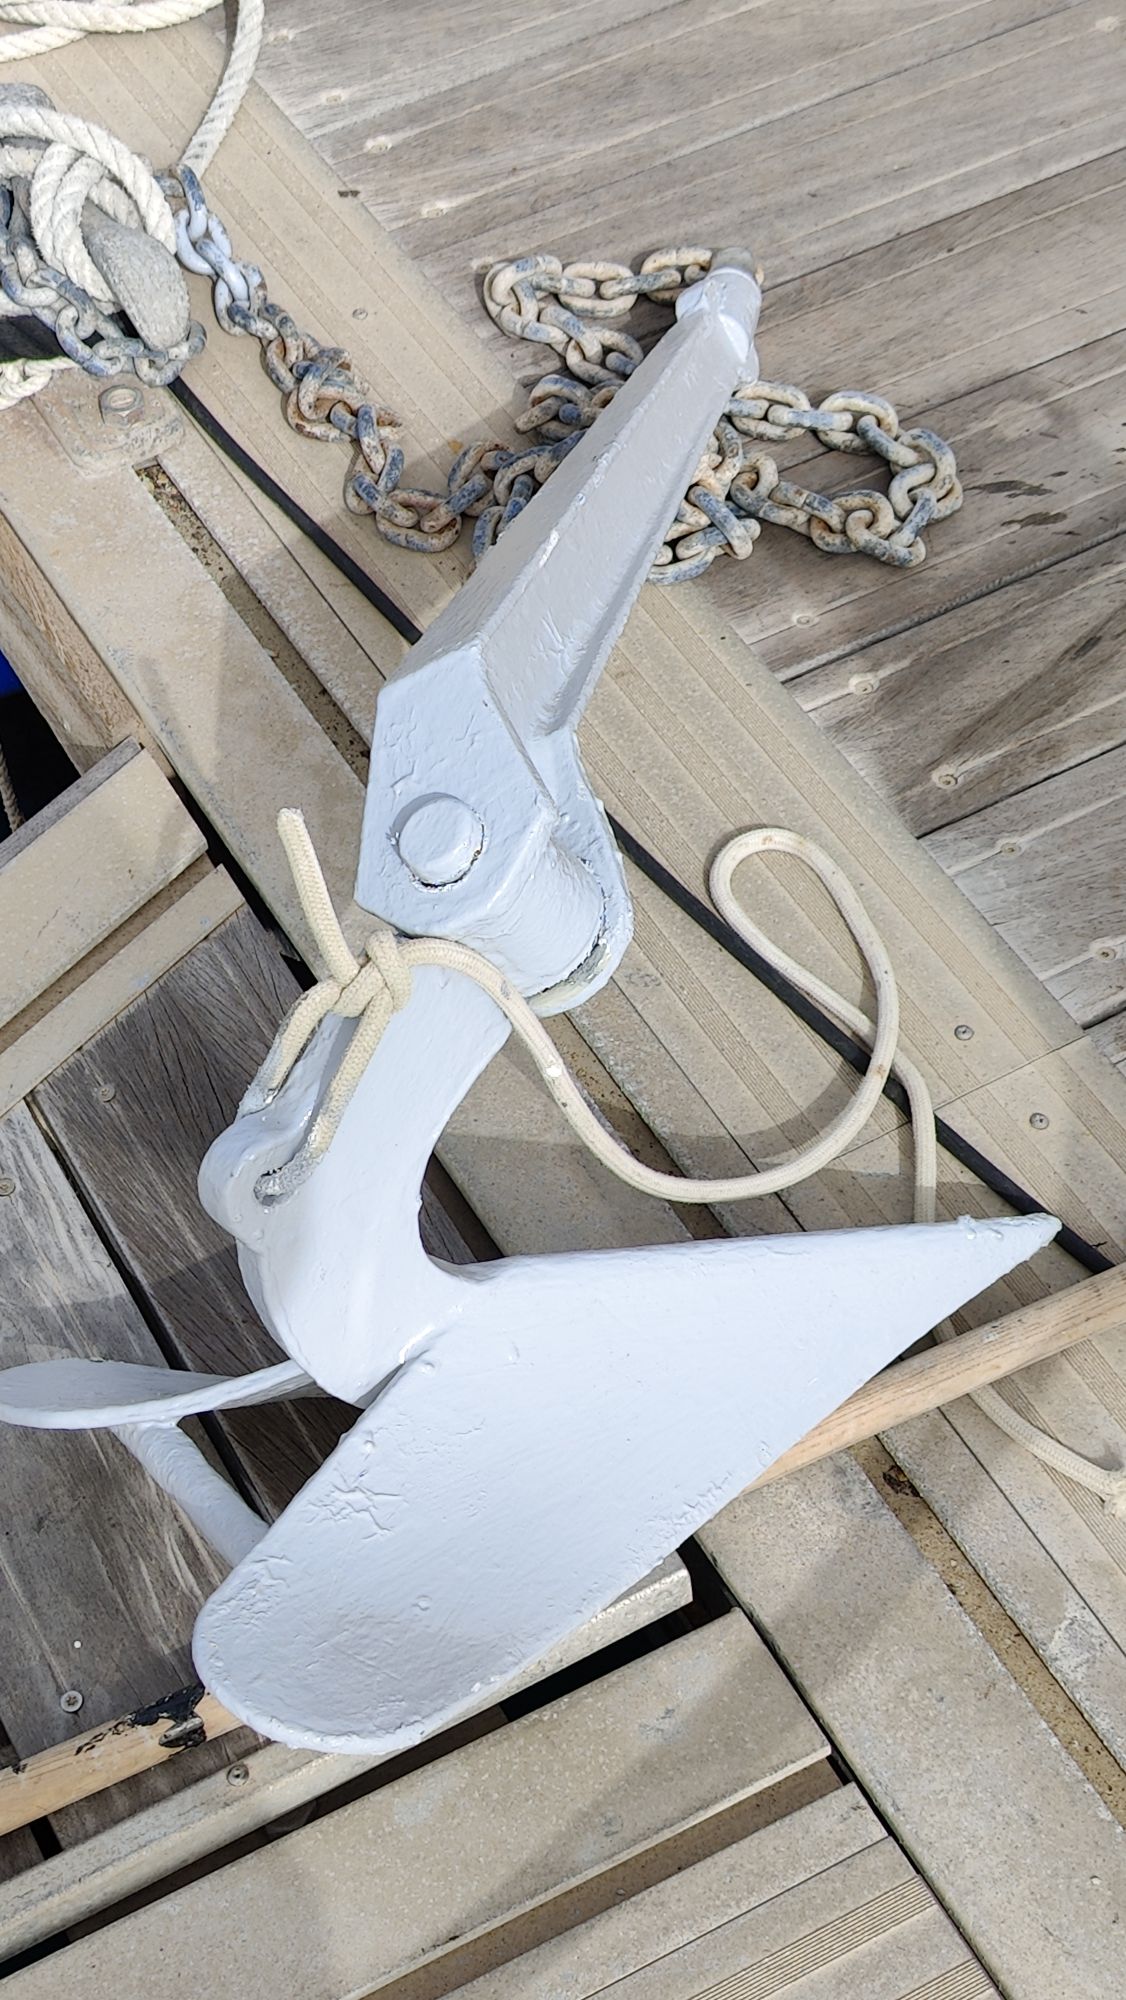


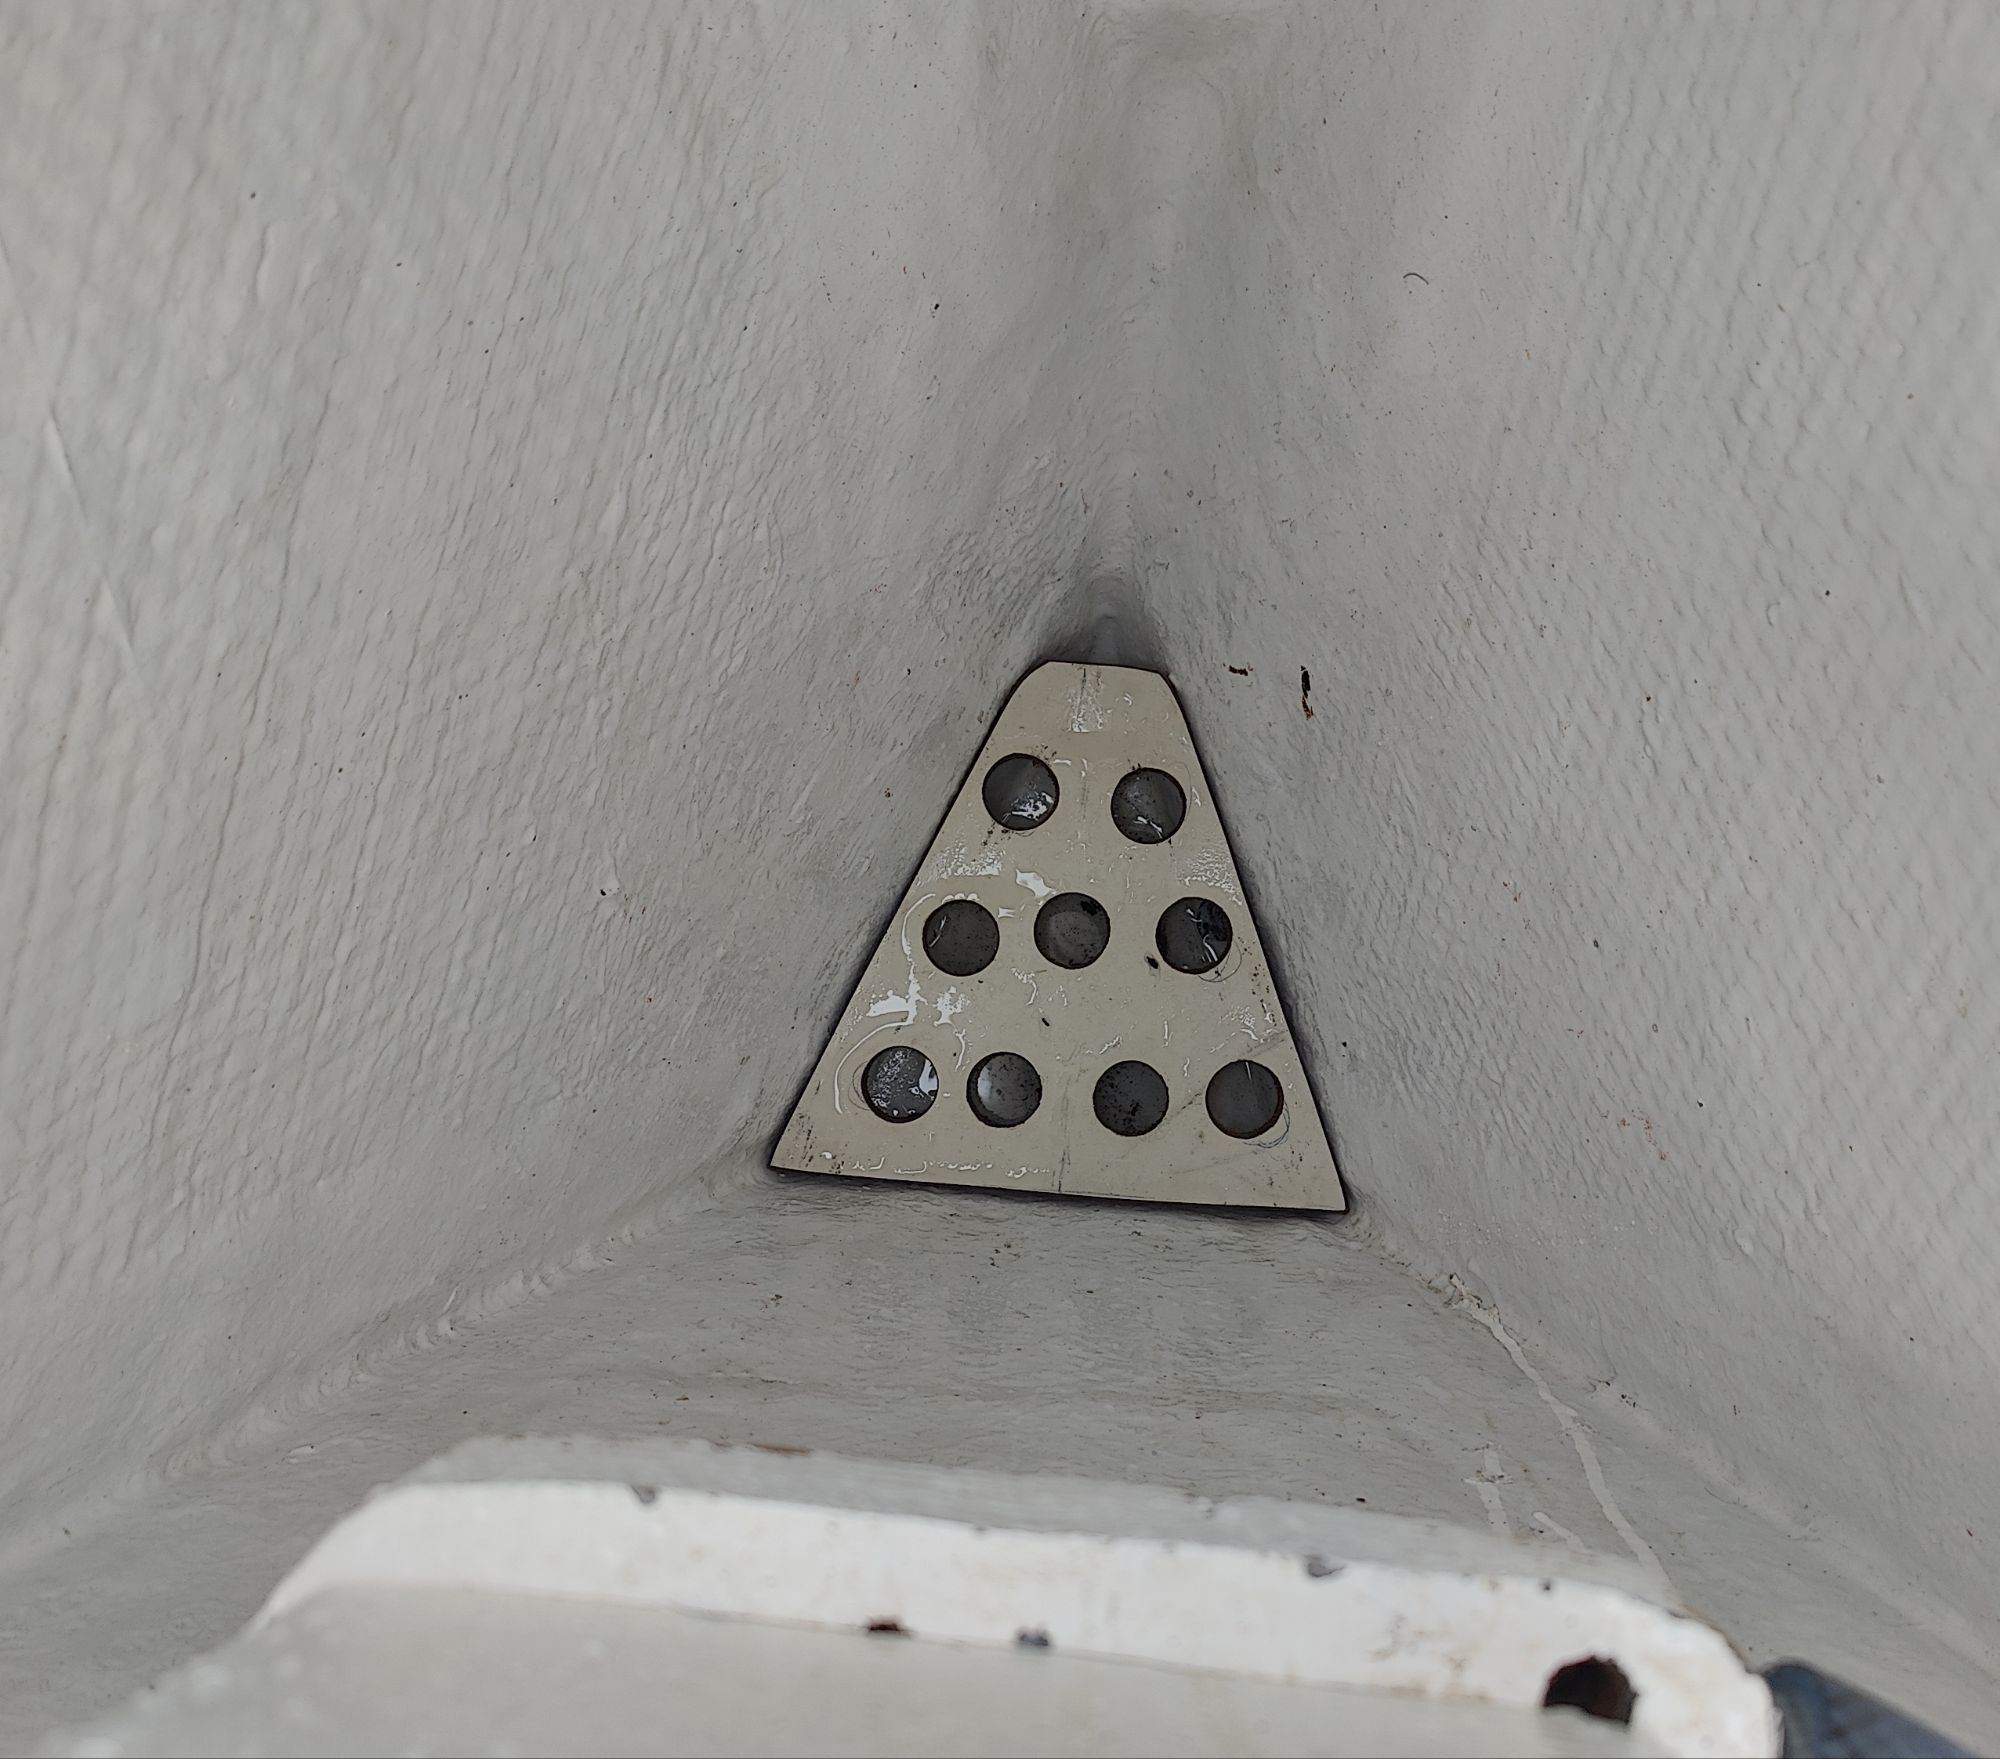
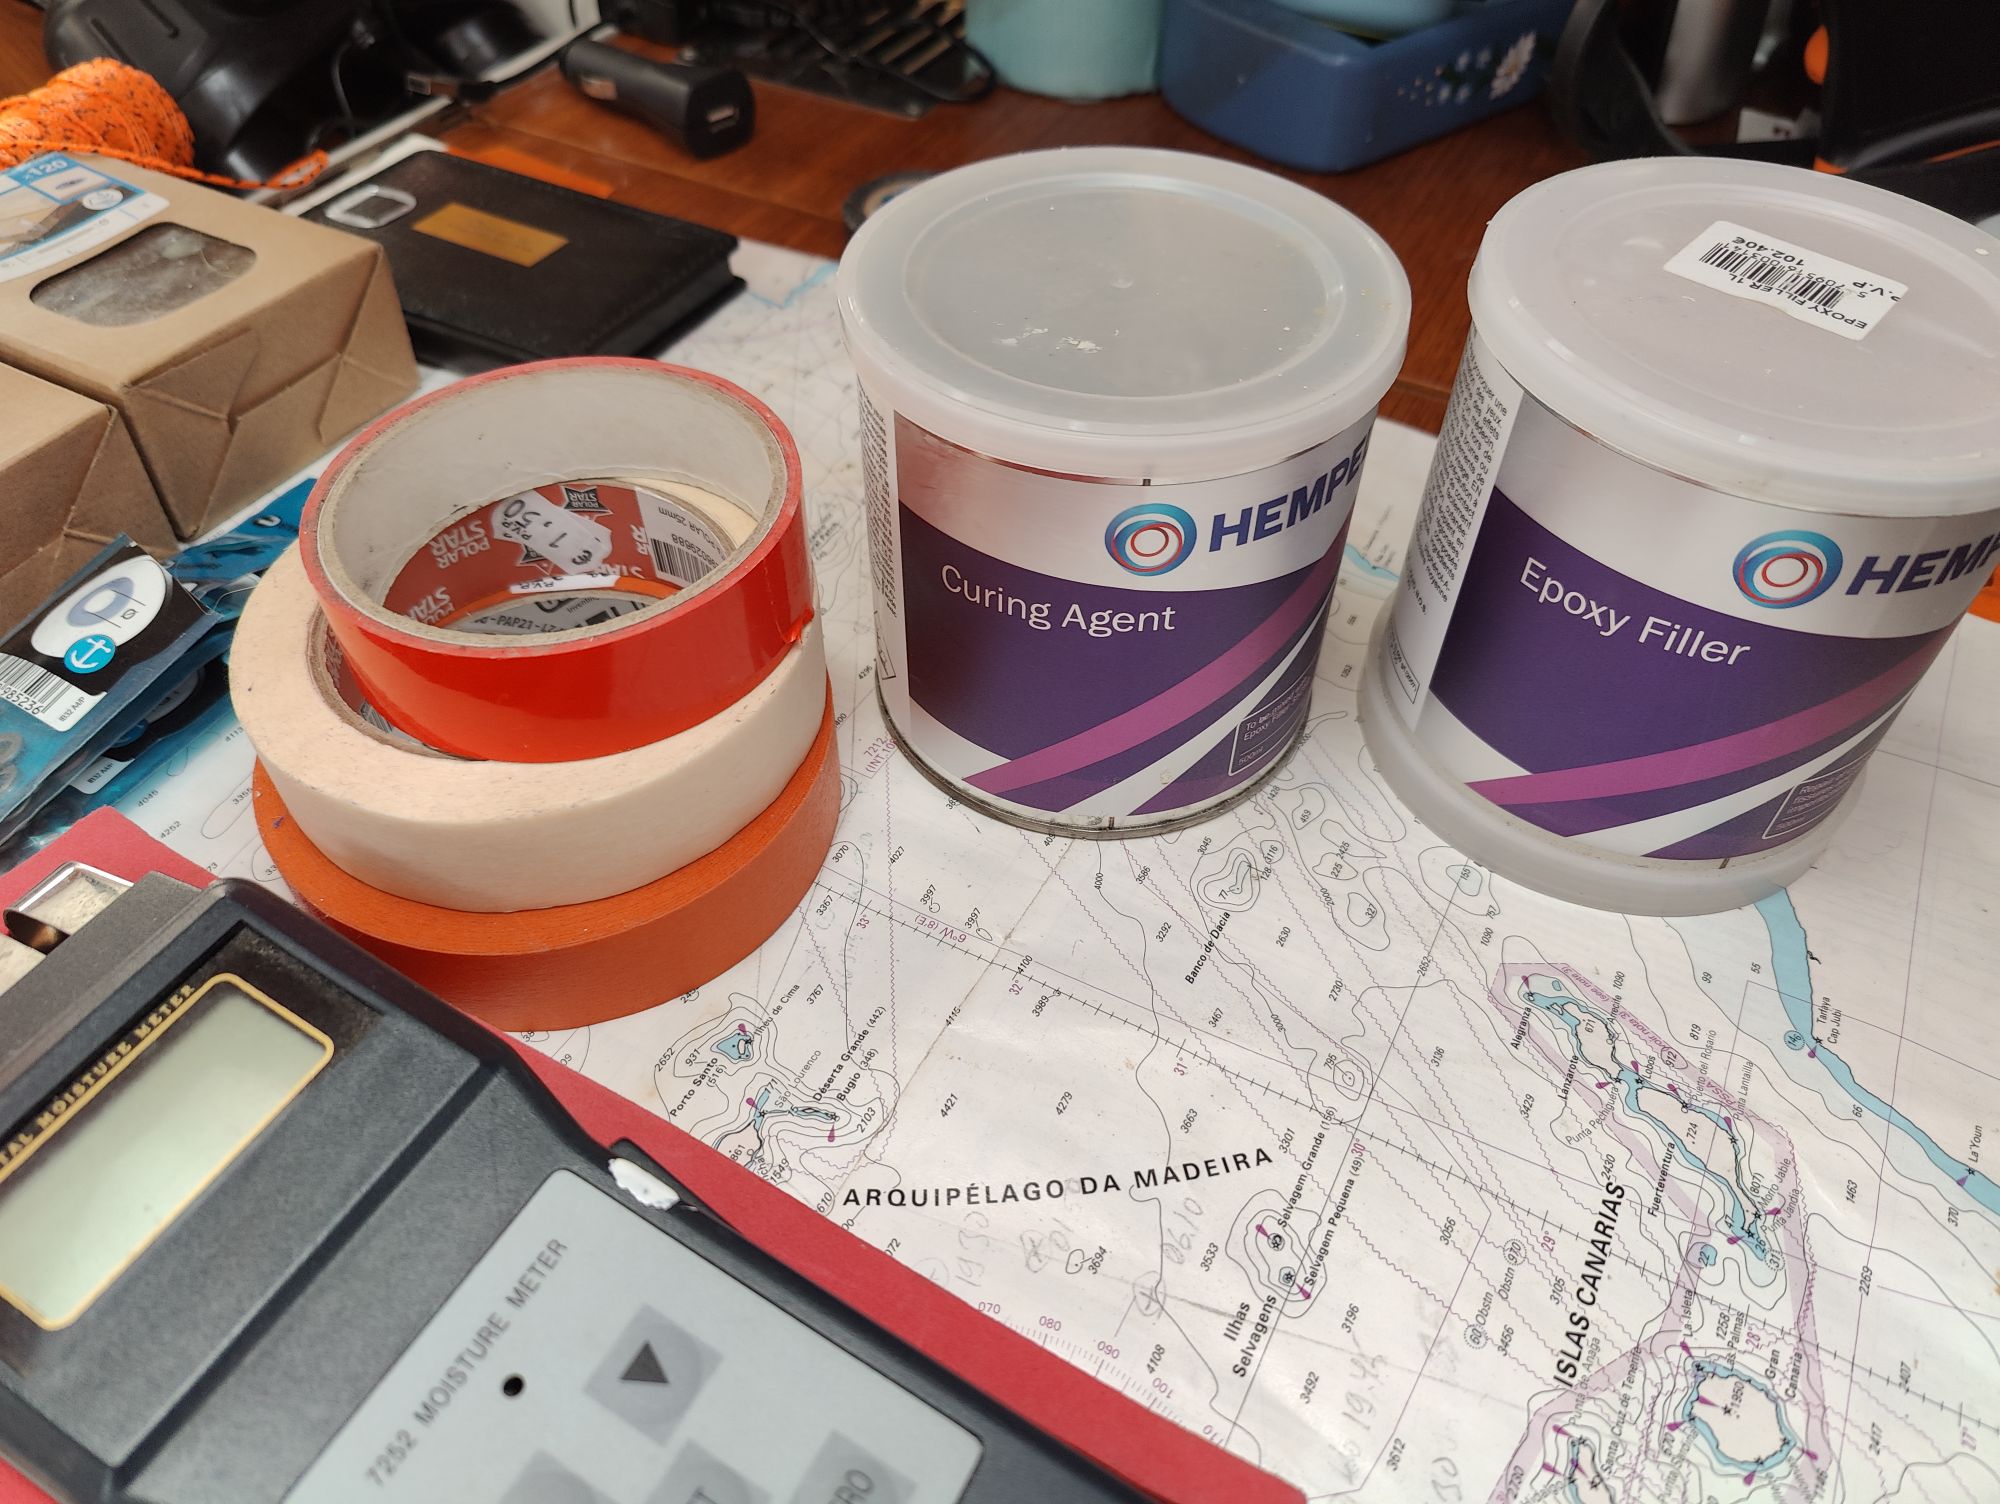
Anchor is painted three times with metal paints and epoxy. Anchor hinge is cleaned and is working properly. The essential chain stopper is bolted to deck Red markings in 3 m intervals in anchor chain. Anchor box cleaned properly, small laminated plywood on the bottom to prevent chain soaking with salt water
